Cart
0
You may also like


Book a call with our development team to get started.


Apply online and access wholesale pricing.
Gift-giving should never feel like an afterthought. And the way you present a gift sets the tone before the box is even opened.
A well-designed gift box with compartments can turn even simple items into something extraordinary. Each piece feels carefully chosen, thoughtfully placed, and beautifully arranged.
Whether you’re preparing thank-you gifts, holiday boxes, or client presents, creating compartments adds structure and elegance. So, in this article, we show you exactly how to design a luxurious gift box that looks like it came straight from a high-end boutique. Let’s break it down step by step.

Before you begin, take a moment to gather your materials. You’ll need:
A sturdy, elegant gift box with a lid (Choose yours from Hammont’s gift box collection.)
Cardboard or chipboard for dividers
A ruler, pencil, scissors, or utility knife
Gift filler (such as shredded paper or tissue paper)
Double-sided tape or glue
Your selected gift items
Optional extras: ribbon, a handwritten note, tags, or a sticker to seal the box
Choosing a color palette or theme will also help tie everything together. Think soft blush, deep navy, or classic black and gold—whatever fits your occasion and complements one another!
| Section | What to Do / Details | Pro Tip / Notes |
|---|---|---|
| What You’ll Need | ||
| Gift Box | A sturdy, elegant box with a secure lid (from Hammont’s gift box collection). | Choose a size that fits items without shifting. |
| Dividers | Cardboard, chipboard, or heavy cardstock for compartment walls. | Cut cleanly for a luxe fit. |
| Tools | Ruler, pencil, scissors or utility knife. | Measure twice, cut once. |
| Filler | Shredded paper or tissue paper for padding and style. | Stick to one filler type for a cohesive look. |
| Adhesive | Double‑sided tape or glue to secure dividers. | Snug, not tight—avoid warping the box. |
| Gift Items | Your selected gifts. | Group by theme, color, or use. |
| Optional Extras | Ribbon, handwritten note, tags, sticker seal. | Pick a palette (soft blush, deep navy, black & gold, etc.). |
| Step‑by‑Step: Creating Compartments | ||
| Step 1 — Pick the Right Box | Choose a box large enough for your items without excess space; ensure a secure‑closing lid and substantial material. | Aim for a snug fit so items don’t shift during handling. |
| Step 2 — Plan Your Layout | Arrange items on a table until the composition feels balanced—pair tall with small; group by color, use, or shape. Sketch a quick layout if helpful. | Spend a little extra time here; it sets the tone of the whole box. |
| Step 3 — Create the Dividers | Measure the interior; cut chipboard/heavy cardstock strips for simple cross‑dividers or more intricate grids. Secure with double‑sided tape or glue. | Dividers should be snug but not forced to avoid bowing. |
| Step 4 — Add Filler | Place filler into each compartment for protection and texture. Stick with one type for a clean look. | Neutral filler (ivory, kraft, white) reads elevated; match theme/palette as needed. |
| Step 5 — Place Gifts Thoughtfully | Add items to compartments with labels facing up; pair complementary items; add filler where needed to prevent rolling. | Aim for a “wow” moment the instant the lid lifts. |
| Step 6 — Finishing Touches | Tie a satin ribbon or add a branded sticker seal; tuck a handwritten note. For an elevated finish, wrap the box in tissue before closing. | Small details create a lasting impression—especially for business gifts. |
| When to Use Gift Boxes with Compartments | ||
| Bridesmaid/Groomsman Proposals | Makes the moment feel intentional and elegant. | Pair keepsakes with self‑care treats. |
| Corporate Client Thank‑You Gifts | A structured, premium presentation for brand credibility. | Include a subtle card or insert with brand story. |
| Birthdays/Care Packages | Keeps multiple items tidy and themed. | Mix flavors, colors, or routines by compartment. |
| Event/Retreat Welcome Kits | Professional first impression for attendees. | Group essentials: badge, schedule, snacks, swag. |
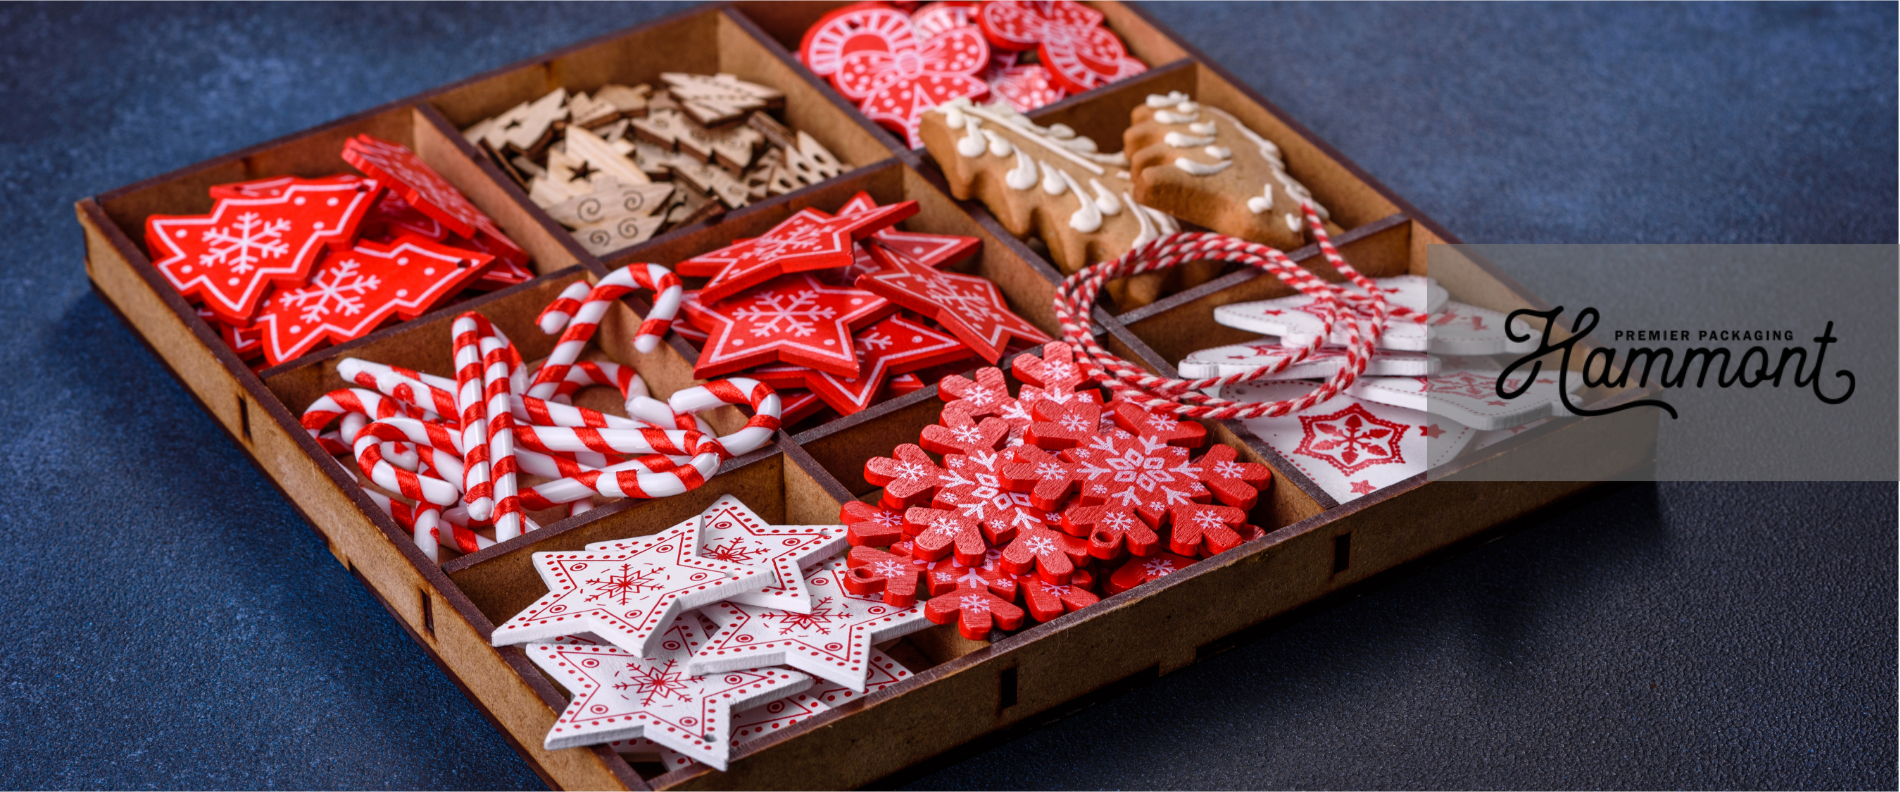
| Holiday Treat Assortments | Perfect for themed flavors or styles. | Label compartments for easy selection. |
| Tip: For bulk gifting, Hammont offers boxes in multiple sizes/colors to keep large orders consistent and easy to assemble. | ||
Here’s how to do this step by step:
Size and structure matter. Your box should be large enough to hold your items, but not so big that things shift. Hammont’s boxes are designed to hold their shape and elevate the unboxing experience. Look for a lid that closes securely and material that feels substantial in the hands.
Place your items on a table. Move them around until it feels balanced. Pair taller items with smaller ones. Group by color, use, or shape. Sketch a quick layout if it helps. This is the part where your gift starts to take form. And this is definitely the step worth spending a teeny bit of time on!
Use chipboard or heavy cardstock to create your compartments. Measure the inside of the box and cut strips to match. You can create simple cross-shaped dividers or more intricate designs, depending on the number of items you have.
Make sure to secure the dividers using double-sided tape or glue. Ensure they’re snug but not too tight. Everything should fit without force!
Place your filler material into each section. This not only protects your items but also adds texture and dimension. Stick with one filler type to maintain a clean and cohesive look.
Neutral colors like ivory, kraft, or white always look elevated. However, your theme or color palette may determine the color of filler, too!
Now add your items into each compartment. Labels should face upward. Pair items that complement each other. If anything rolls, shift it slightly or add more filler. The goal is for the gift to look beautiful from the moment the lid is lifted, so you can truly “wow” your recipient.
The right final touches make all the difference. This is where your box goes from nice to unforgettable. So, consider tying a satin ribbon around the box or adding a branded sticker seal. Tuck a handwritten note on top for a personal feel. If it’s a business gift, include a subtle thank-you card or insert with your brand story.
Want an even more elevated finish? Wrap the box in tissue paper before closing the lid. It adds a sense of mystery and care, encouraging the recipient to pause and savor the unwrapping. All in all, these small details speak volumes—and they create a lasting impression.
It’s worth noting that this style of gift isn’t appropriate every time. And they aren’t just for the holidays—though they’re perfect for that, too. You can use them anytime you want to make the gift feel intentional and elegant.
Great occasions include:
Bridesmaid or groomsman proposal boxes
Corporate client thank-you gifts
Birthday or care packages
Welcome kits for events or retreats
Holiday treats with different flavors or themes
Ultimately, creating a gift box with compartments doesn’t require specialized skills. Just a little care, some planning, and a quality box to start with!
Want a shortcut to a box that already feels premium? Hammont offers a wide range of gift boxes in various sizes, colors, and finishes to suit every occasion. They’re sturdy, easy to assemble, and beautiful right out of the box. Whether you’re gifting one person or sending a hundred packages, you’ll find something that feels just right.