Cart
0
You may also like


Book a call with our development team to get started.


Apply online and access wholesale pricing.
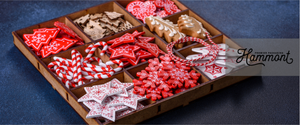
Not every package needs bows and sparkle to feel luxurious. In fact, some of the most memorable gifts come in plain packaging, elevated with just a touch of creativity.
One of the simplest ways to add personality? Stamps and ink! With the right design and a few tools, you can create beautiful, custom packaging that looks like a professional created it, without the cost of custom printing. So, how can you do this? We’ve got you covered.
Stamping adds charm without clutter. It’s clean, stylish, and easy to customize for any occasion. It also works well on matte surfaces, such as kraft paper, white boxes, or tissue wrap. Instead of layering embellishments or buying custom labels, you can add your logo, initials, or favorite design by hand.
Stamping also creates texture. It makes your packaging feel more tactile, more handmade, and more intentional, while still being professional. And unlike stickers or printed tape, stamps are reusable.
For custom stamping, here’s what you’ll need:
Blank packaging: gift boxes, bags, or wrap
Acrylic or rubber stamps (store-bought or custom)
Ink pads (pigment or dye-based)
Scrap paper for test prints
Paper towels or wipes for cleanup
Optional: Embossing powder and a heat tool, for raised ink details.
Now, it’s time to get creative!
Ideally, your stamp should reflect your theme, brand, or occasion. You can go subtle or bold. But whatever you choose, keep it simple. That’s the secret to making it feel elegant and put together without any clutter.
Some popular ideas to get those creative juices flowing include:
A single initial or monogram
A floral or botanical shape
Your logo or a short brand message
A seasonal motif like snowflakes or stars
A pattern that repeats diagonally

If you’re not sure where to start, choose one stamp and build from there. You can always layer designs later, but starting minimal keeps things clean and neat (without having to start from scratch if you don’t like it!).
| Step | What to Do | Tips |
|---|---|---|
| 1. Test It First | Test on scrap paper or cardboard before stamping final packaging. | Check for alignment, clear lines, and even ink coverage. |
| 2. Apply Ink Gently | Use a light tapping motion to load ink evenly. | Avoid oversaturation to prevent blotchy designs. |
| 3. Press on a Flat Surface | Stamp on a solid, flat base using firm downward pressure. | Don’t rock or slide the stamp to avoid smears. |
| 4. Let It Dry | Allow ink to dry for 30 seconds to 2 minutes. | Avoid stacking or touching while drying. |
| 5. Optional: Emboss It | Add embossing powder to wet ink and heat for a raised, glossy effect. | Creates professional-looking, tactile finishes. |
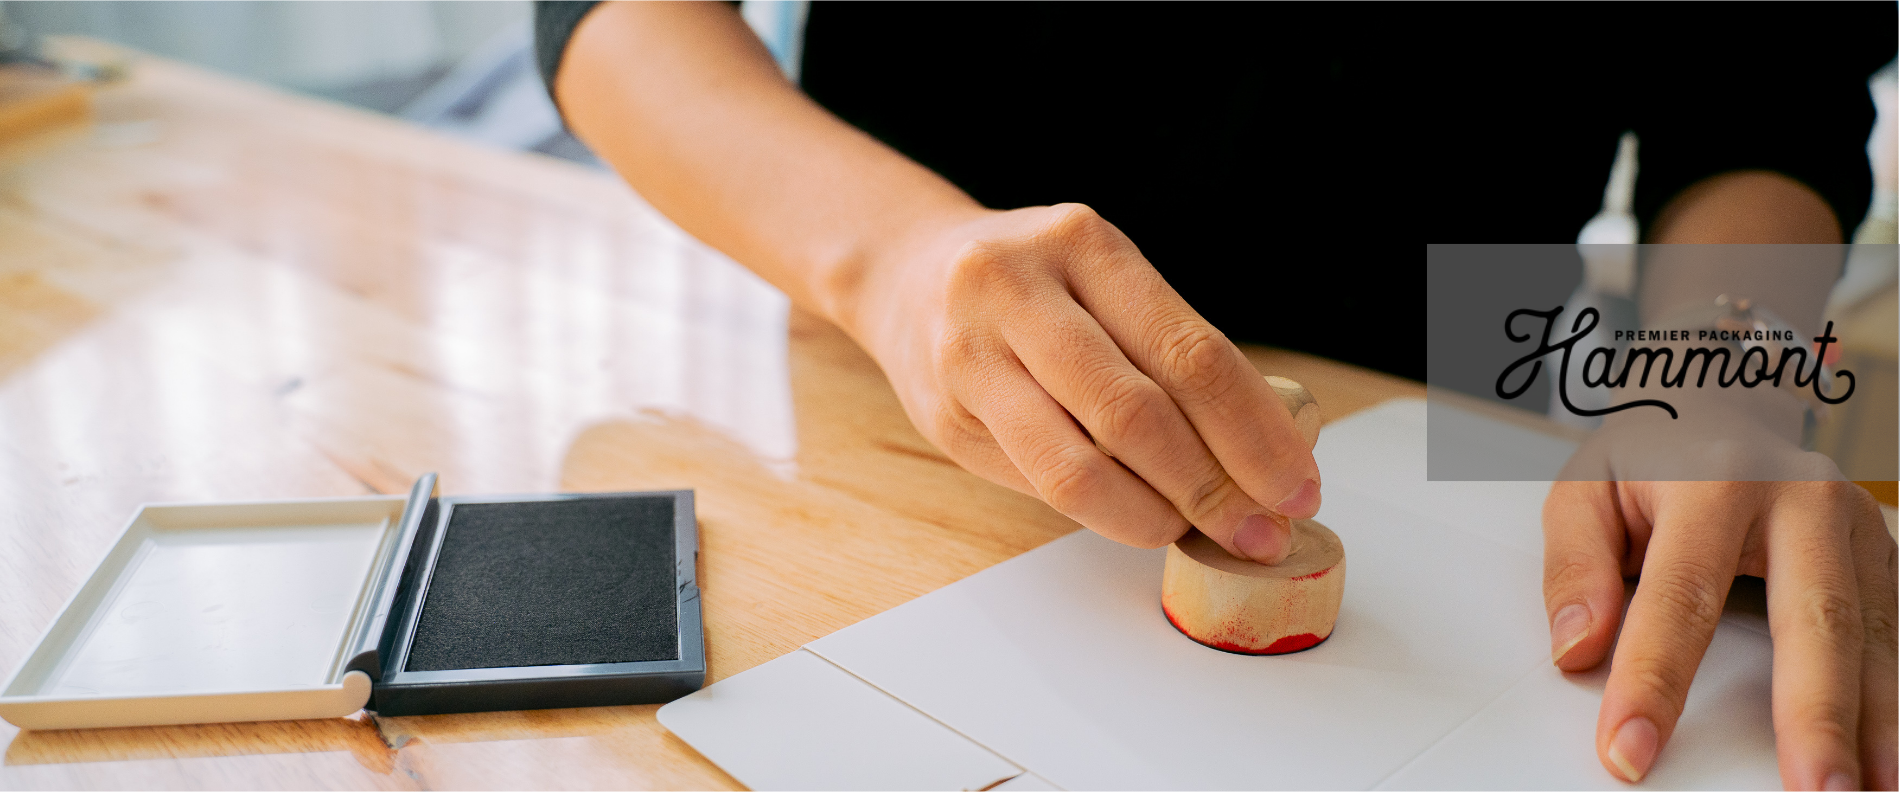
Before stamping your real packaging, always test on scrap paper or cardboard. This step prevents costly mistakes and wasted materials. Check for clear, defined lines without bleeding or smudging. And ensure you examine the ink coverage to ensure it’s even across the entire design—no patchy areas or overly saturated spots.
Pay close attention to placement and alignment, especially if you’re using multiple stamps or creating patterns. Ultimately, this preliminary testing saves you from disappointing results and protects your valuable packaging materials from irreversible errors.
Instead of pressing the stamp firmly into the ink pad, use a gentle tapping motion. This technique ensures even ink distribution across the entire stamp surface without oversaturation.
When it comes down to it, too much ink creates blotchy, messy prints that bleed beyond the design boundaries. The goal is a thin, uniform layer that covers every detail of your stamp.
If your stamp has intricate details or fine lines, pay extra attention to ensure ink reaches all areas without pooling in recessed sections. For larger stamps, you may need to tap multiple times, rotating slightly to achieve complete coverage.
Successful stamping requires a stable and hard surface underneath your packaging material. Place your box or paper on a solid surface, such as a table, cutting mat, or hardboard. Position the stamp carefully, then apply firm, even pressure straight down.
Avoid rocking or tilting the stamp, as this creates uneven impressions and distorted designs. Hold the pressure for at least two to three seconds to ensure complete ink transfer.
When lifting the stamp, pull it straight up in one smooth motion. Any dragging or sliding will smear the design and create unsightly marks around the edges.
Patience during the drying process prevents smudging and ensures lasting results! You don’t want to mess this one up.
Most inks require 30 seconds to 2 minutes to fully set, depending on the type and thickness of application. So, avoid touching, moving, or stacking stamped items during this critical period.
And keep in mind that water-based inks typically dry faster than oil-based alternatives, while specialty inks may require extended drying time. Test drying times during your initial practice session to establish the right timing for your specific materials and conditions.
For an elevated, professional finish, consider embossing your stamped designs. While the ink is still wet, generously sprinkle embossing powder over the entire stamped area. Tap off excess powder, ensuring it only adheres to the inked portions.
Then, using an embossing heat tool or hair dryer, apply heat until the powder melts and creates a raised, glossy surface. This technique adds dimensional texture and visual interest, making your packaging stand out from the competition (or from the other gifts in the pile!).
| Item | Use / Notes |
|---|---|
| Blank Packaging | Gift boxes, kraft bags, or tissue paper — matte surfaces work best. |
| Acrylic or Rubber Stamps | Can be store-bought or custom-designed to match your brand or occasion. |
| Ink Pads | Use pigment or dye-based inks depending on drying time and color intensity. |
| Scrap Paper | For test prints before using on final packaging. |
| Paper Towels / Wipes | For cleaning stamps between uses. |
| Optional: Embossing Powder & Heat Tool | To add texture and gloss by melting powder over wet ink. |
To truly bring your vision to life, keep these tips in mind:
Stick with two colors max to avoid a messy look.
Pair your ink color with your packaging tone.
Use black, white, or metallic ink for contrast.
Clean your stamp after every few uses for sharper prints.
Don’t crowd your design—less really is more.
Try placing one stamp in a strategic location (such as centered on the lid or in the bottom corner) for a neat and tidy look.
When done right, stamping is simple, beautiful, and incredibly effective. It can make your gift wrapping one-of-a-kind, making the recipient feel special or truly representing your brand in the best way possible!