Cart
0
You may also like


Book a call with our development team to get started.


Apply online and access wholesale pricing.
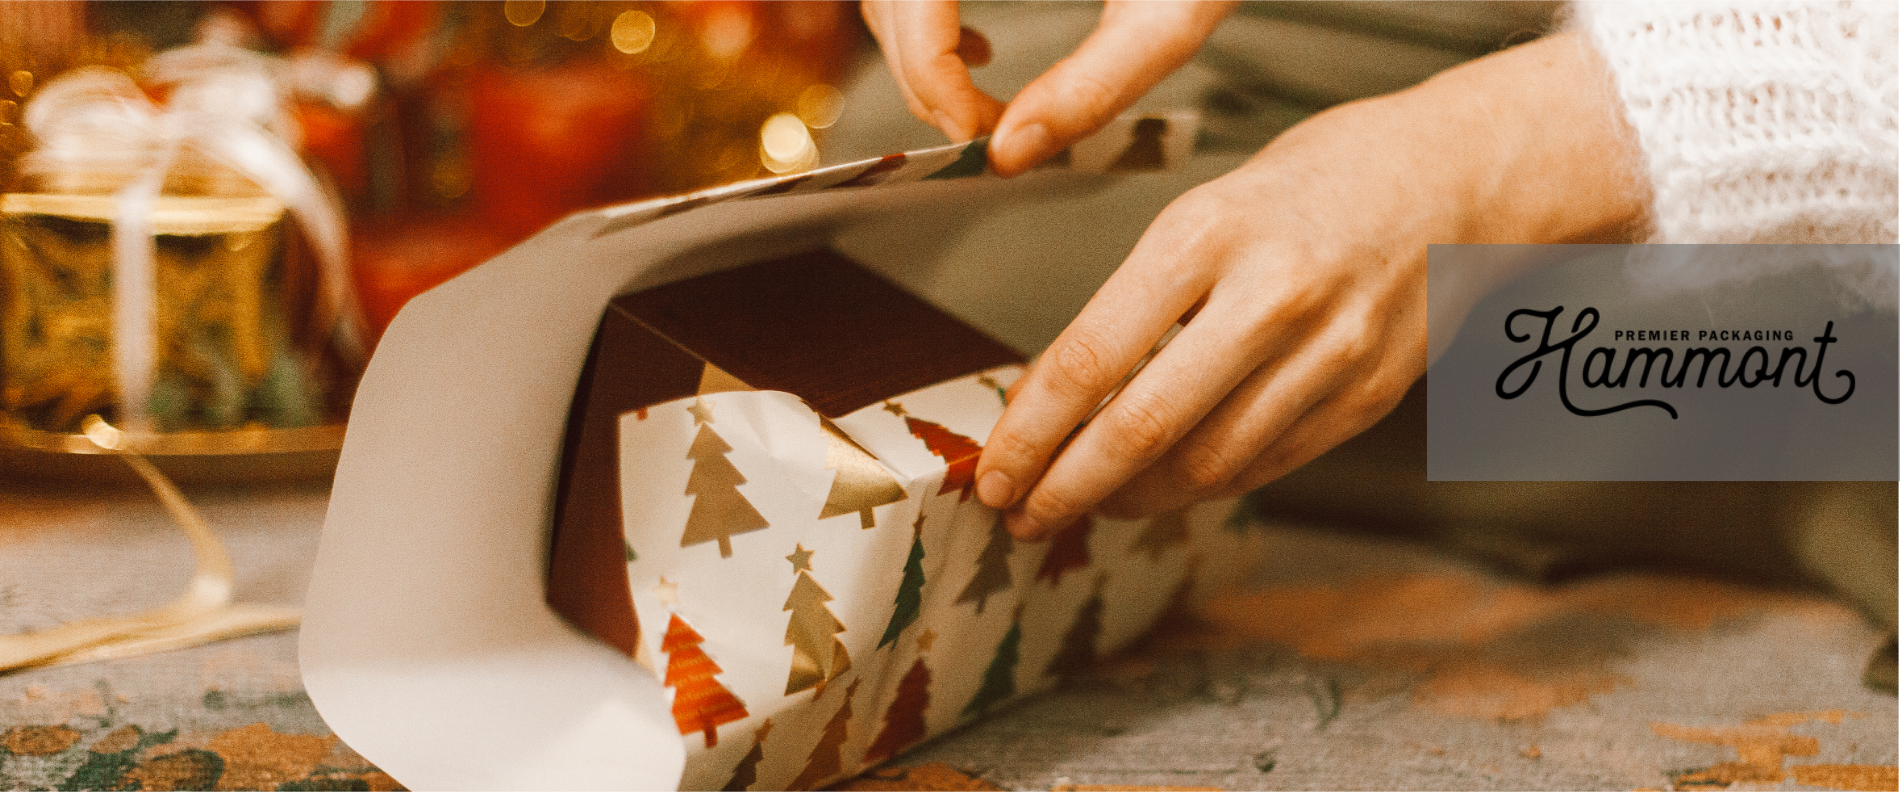
A beautifully wrapped gift adds anticipation and excitement to any gift-giving or receiving experience. But, like most people, you may struggle with the actual wrapping part; after all, none of us are pro gift wrappers! Yet, you can be—all you need are a few simple steps.
The truth is that anyone can master gift wrapping. It’s not rocket science. So, if you’re ready to learn this skill, let’s dive right in.
Gift wrapping is often considered an art. And, in some cases, it absolutely is! However, if you simply want your gift wrapping to look a bit more presentable, this step-by-step guide will help you achieve that.

Wrapping paper
Scissors
Tape
Ribbon or bow
Gift tag (optional)
Pen or marker for the tag
The best way to do this measurement is by placing the gift in the center of the paper and folding the paper around the gift. Once you have a good idea of the size, make creases to easily cut along. If you’re a bit unsure, always lean toward having excess over too little!
Ideally, you want to place the gift face down, since the wrapping presentation often keeps the folds and tapes in the back. You may also want to consider taping one side of the wrapping paper to the box of your gift for greater ease throughout the next steps.
Grab the other side of the paper and secure it with tape. Make sure the paper is smooth but tight against the gift item.
Push the top and bottom edges inward to form triangular flaps. Then, fold one flap up and tape it. Fold the other flap up and tape again. Repeat on the other side.
For a crisp finish, make sure to crease those folds sharply!
Wrap ribbon around the gift horizontally and vertically for a classic look. You can also tie a bow or curl the ends of the ribbon with scissors. Alternatively, you could further add a sprig of greenery for a more unique and natural touch!
| Step | Description | Pro Tip |
|---|---|---|
| 1 | Measure & cut your wrapping paper by placing the gift in the center and folding paper around it. Crease where you’ll cut. | Always cut a bit extra to avoid running short. |
| 2 | Place the gift face down in the center of the paper. Secure one edge with tape if needed. | Taping one edge early makes the process easier. |
| 3 | Wrap the other side of the paper over the gift and tape it down. Smooth and tighten as you go. | Avoid excessive tape for a cleaner look. |
| 4 | Fold the top and bottom edges inward to create triangles. Fold up one flap and tape, then repeat for the other flap. | Sharply crease folds for a crisp, professional finish. |
| 5 | Add ribbon or bow. Wrap around horizontally and vertically, tie a bow, or curl ribbon ends. | Add a sprig of greenery or handmade tag for a unique touch. |
Even the most thoughtful gifts can lose their impact when wrapped hastily or incorrectly. Despite following all of the steps above, you may have found yourself struggling with wrapping paper that won’t cooperate. So, here are some common gift wrapping pitfalls and how to overcome them!
We’ve all been there—you’ve measured your gift against the wrapping paper, cut what seems like plenty, only to discover you’re inches short of covering the entire package. This frustrating scenario often results in awkward patches or having to start over with a new sheet.
If you find yourself with insufficient paper, consider creating a patchwork design by adding a contrasting strip of paper as a decorative band around the middle, transforming your mistake into a design element.
Cylindrical tubes, irregularly shaped toys, and other non-rectangular items can challenge even seasoned gift wrappers. Many people resort to using excessive tape or simply stuffing these items into gift bags. But there are better ways!
For cylindrical objects like bottles or posters, wrap the paper around the circumference first, then secure it with tape. Next, twist and fold the ends, securing them with a decorative ribbon.
For truly unusual shapes, consider fabric wrapping (Furoshiki style), which conforms more easily to irregular contours. Alternatively, invest in a few gift boxes of various shapes that can house oddly-shaped presents before wrapping the more manageable box.
Nothing is more frustrating than thin, flimsy wrapping paper that tears as you fold it, especially around corners or when applying tape. This not only looks messy but also wastes paper and time.
Instead, invest in medium-weight wrapping paper that offers some resistance when folded. When working with delicate paper, handle it gently and use your fingernail (not scissors) to create crisp folds before actually folding the paper. Apply tape to the underside of folds rather than the visible surface to prevent tearing. Keep a roll of double-sided tape on hand—it creates invisible seams without the stress that regular tape can put on paper. If a small tear does occur, a strategically placed sticker or embellishment can easily conceal the mistake.
Remember, patience is the ultimate tool in your gift wrapping arsenal. Taking your time, measuring correctly, and using the right materials will help you avoid these common pitfalls and create beautifully wrapped presents every time.
Try to enjoy the process as much as you can—the extra effort makes the gift even more special! To really get into it, consider throwing on your favorite song or podcast. Get creative with your finishing touches, too. Whether it’s a colorful ribbon, a sprig of greenery, or a handmade tag, those little details show how much thought you put into the gift. At the end of the day, it’s not about perfection—it’s about making someone feel truly special and appreciated.