Cart
0
You may also like


Book a call with our development team to get started.


Apply online and access wholesale pricing.
You’ve found the perfect gift—perhaps it’s a unique ceramic mug, a quirky stuffed animal, or a special bottle of wine. But as you prepare to wrap it, reality sets in: this oddly shaped item won’t cooperate with standard wrapping paper or fit neatly in a typical box. The corners tear, the paper bunches, and what should be a beautiful presentation starts looking like a rushed afterthought.
Well, you aren’t the first person to run into this problem! Traditional wrapping methods often fail when applied to irregular shapes. But don’t lose hope; with a few simple steps, you can package those oddly shaped gifts into a neat, festive, and appealing look that the recipient will be delighted to receive.
Before you begin, assess your gift to determine the most appropriate packaging. For soft or squishy items like plush toys, clothing, or fabric items, a gift bag with tissue paper provides an easy and attractive solution. The flexibility of the bag accommodates unusual contours without fighting against them.
Heavy or fragile items such as glassware, electronics, or ceramics generally benefit from a sturdy box with proper filler material. This protects the gift during transport and provides a stable base for wrapping.
| Gift Type | Recommended Packaging | Helpful Tips |
|---|---|---|
| Soft items (e.g. plush toys, clothing) | Gift bag with tissue paper | Place heavier part at bottom; use tissue for stability and style |
| Fragile items (e.g. ceramics, electronics) | Sturdy box with filler | Fill empty space with crinkle paper or bubble wrap |
| Long/narrow items (e.g. wine bottles, tools) | Wine bags, tubes, towel wraps | Wrap in cloth for extra cushioning and visual appeal |
| Small oddly shaped gifts | Pillow boxes or Furoshiki wraps | Use fabric or creative wrapping for visual charm |
Long and thin items like wine bottles, posters, or tools may require specialized packaging such as wine bags, mailing tubes, or custom wrapping approaches.
But also, don't limit yourself to conventional options—consider creative alternatives like decorative baskets, pillow boxes (those oval-shaped boxes perfect for small items), or fabric wraps using the Japanese Furoshiki technique.

This is especially important for fragile items! However, it can apply to almost any gift you’re giving; you don’t want the recipient to open up the packaging to a mess!
So, when using gift bags, place the heaviest part of the gift at the bottom to prevent tipping. For items with unusual bases, create a level surface by placing tissue paper or a small piece of cardboard at the bottom of the bag before adding your gift.
For boxed items, fill empty corners and spaces with shredded paper, bubble wrap, or crinkle filler to prevent movement during handling. The goal is to create a snug fit that holds the item securely in place without putting pressure on fragile parts.
Consider pre-wrapping particularly oddly shaped items in soft fabric or bubble wrap before placing them in your chosen container. This creates a more uniform shape while also adding protection. For example, when packaging a wine bottle in a box, you might place it inside a rolled-up decorative kitchen towel. This not only keeps the bottle secure but adds an extra gift element that complements the main present!
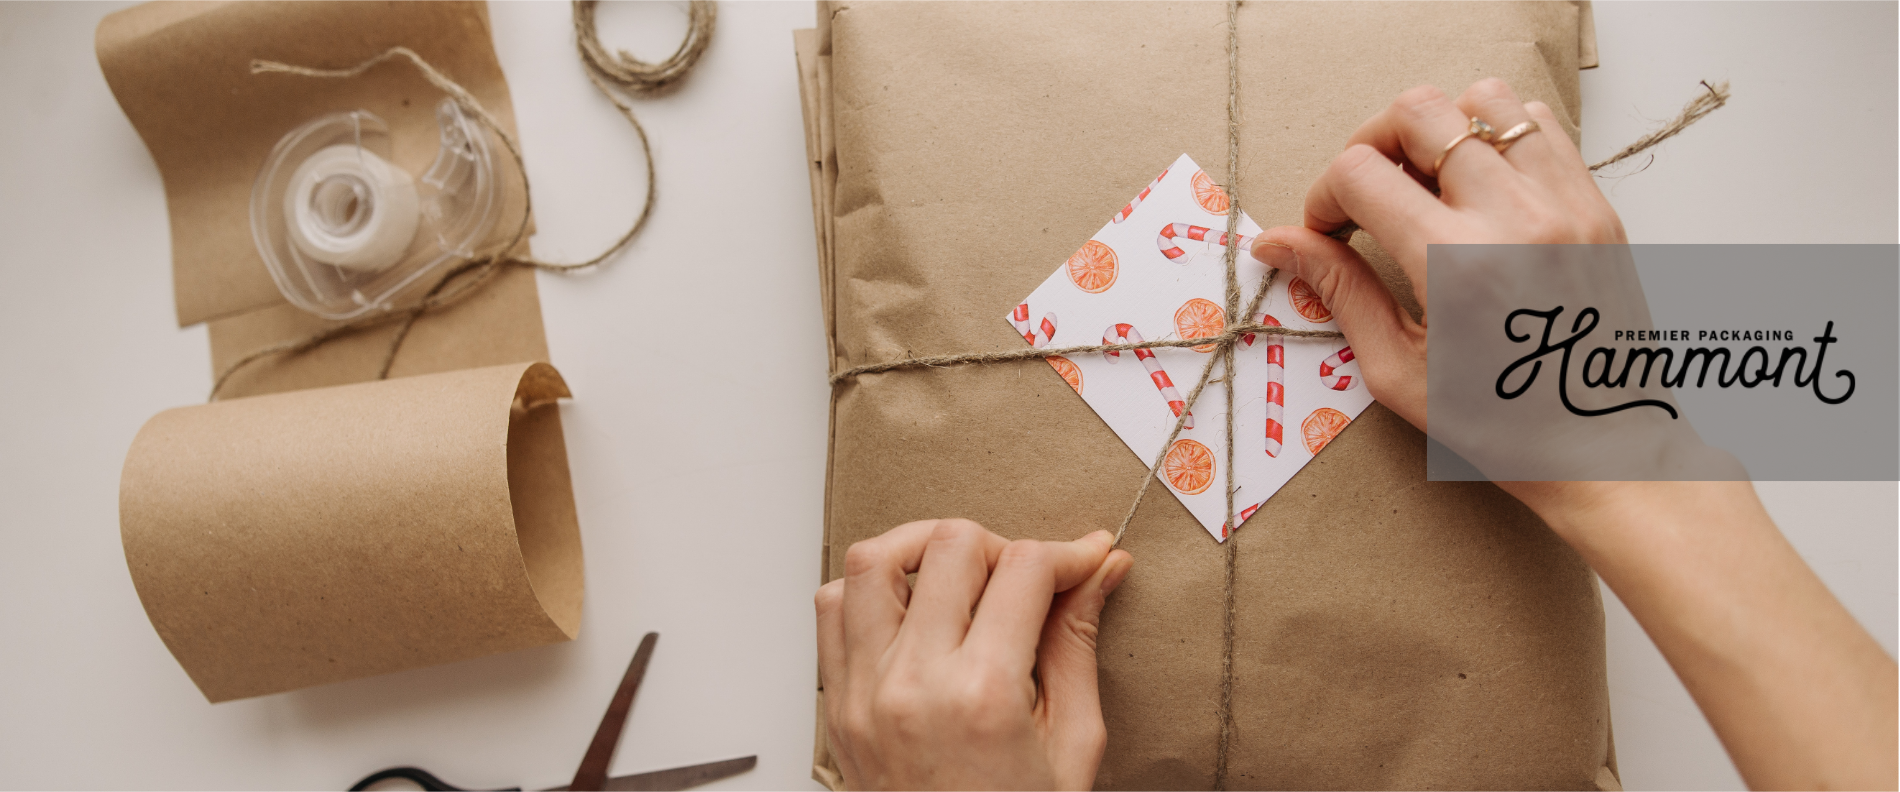
Layers can help restructure an oddly shaped gift. So, begin by wrapping your item in tissue paper, fabric, or Kraft paper before placing it into your chosen gift bag or gift box.
Secure this initial layer with decorative ribbon, washi tape, or a simple sticker to keep everything in place. And for gift bags, don’t skimp on tissue paper. Add extra sheets emerging from the top to conceal the contents while creating visual height and volume. Fan the tissue outward to create a festive appearance that draws attention away from any awkward shapes.
When using boxes, consider options with cleaner opening mechanisms. Lid-style boxes or those with magnetic closures eliminate the need for perfect wrapping techniques while still providing an elegant presentation.
A beautifully wrapped gift loses its magic if it comes undone before it’s even opened. Making sure everything stays secure shows care and attention—and helps your presentation look just as polished at delivery as it did when you wrapped it.
No matter the type of packaging, it’s important to seal any parts that could shift or come loose in transit. For boxes, clear tape along the bottom and sides keeps things intact without taking away from the overall look.
Gift bags need a little extra love to keep tissue paper in place. Try threading a ribbon through the handles and tying a neat bow, or use a decorative sticker to seal the top edges. If the gift is on the heavier side, adding a piece of cardboard at the bottom can help prevent the bag from tearing or sagging.
For boxes, you can get creative with closures—ribbons, twine, or even specialty tapes can double as decoration and reinforcement. Wrapping a decorative band around the entire box is another great option, and it saves you from having to fold corners perfectly.
At the end of the day, a securely sealed package tells the recipient you’ve put real thought and effort into their gift—before they’ve even opened it.
It’s the little personal touches that truly elevate a gift. Adding a handwritten tag or custom label that hints at what’s inside or suits the occasion shows you’ve gone the extra mile—and builds excitement before the gift is even opened.
Think about seasonal or themed accents that match the moment. A pinecone or sprig of evergreen adds a festive feel to winter gifts. And dried flowers can bring a soft, springtime charm. For birthdays, a mini balloon or playful sticker can instantly brighten up even the simplest packaging.
Personalization goes even further when you tailor it to the recipient. Use their favorite colors, reference an inside joke, or add a detail that reflects their hobbies or personality. These small choices can turn standard wrapping into something that feels truly made for them. Even when the gift shape is tricky, thoughtful finishing touches make all the difference—turning your packaging from just practical to something memorable and meaningful.
| Common Problem | Recommended Solution |
|---|---|
| Wrapping paper tears or bunches | Use bags or fabric wraps instead of paper |
| Item shifts or tips inside packaging | Add filler (tissue, cardboard, bubble wrap) to stabilize |
| Gift loses shape or looks messy | Pre-wrap item with tissue or soft fabric |
| Packaging opens or falls apart | Seal with tape, ribbon, or decorative closures |
| Final wrap looks plain or generic | Add personal touches like tags, accents, or themed decor |
When it comes down to it, perfect gift packaging isn’t about flawless technique—it’s about making your gift feel special and demonstrating thoughtfulness. Even the most unusually shaped gift can be presented beautifully with the right approach and a bit of creativity. By choosing appropriate packaging, properly stabilizing the contents, creating neat layers, securing everything properly, and adding personal touches, you can transform any oddly shaped item into a gift that is both aesthetically appealing and meaningful!