Cart
0
You may also like


Book a call with our development team to get started.


Apply online and access wholesale pricing.
The key to creating a beautiful, realistic beach resin tray or board is just tinted epoxy resin and a hairdryer! It's an beginner technique that is really simply pouring layers of resin in shades of blue, then finishing with a line of white that gets moved around with a hairdryer to create that amazing effect reminiscent of sea foam.
For this project, you can choose to use a piece of basswood to create a decorative charger. Or a flat smooth rectangular board such as a cutting board to create a decorative prep to table serving dish.
To prep your board or sheet tape off sections of the board that you don’t want covered in resin such as the sides and the underside of the handle if using a board with cut outs.

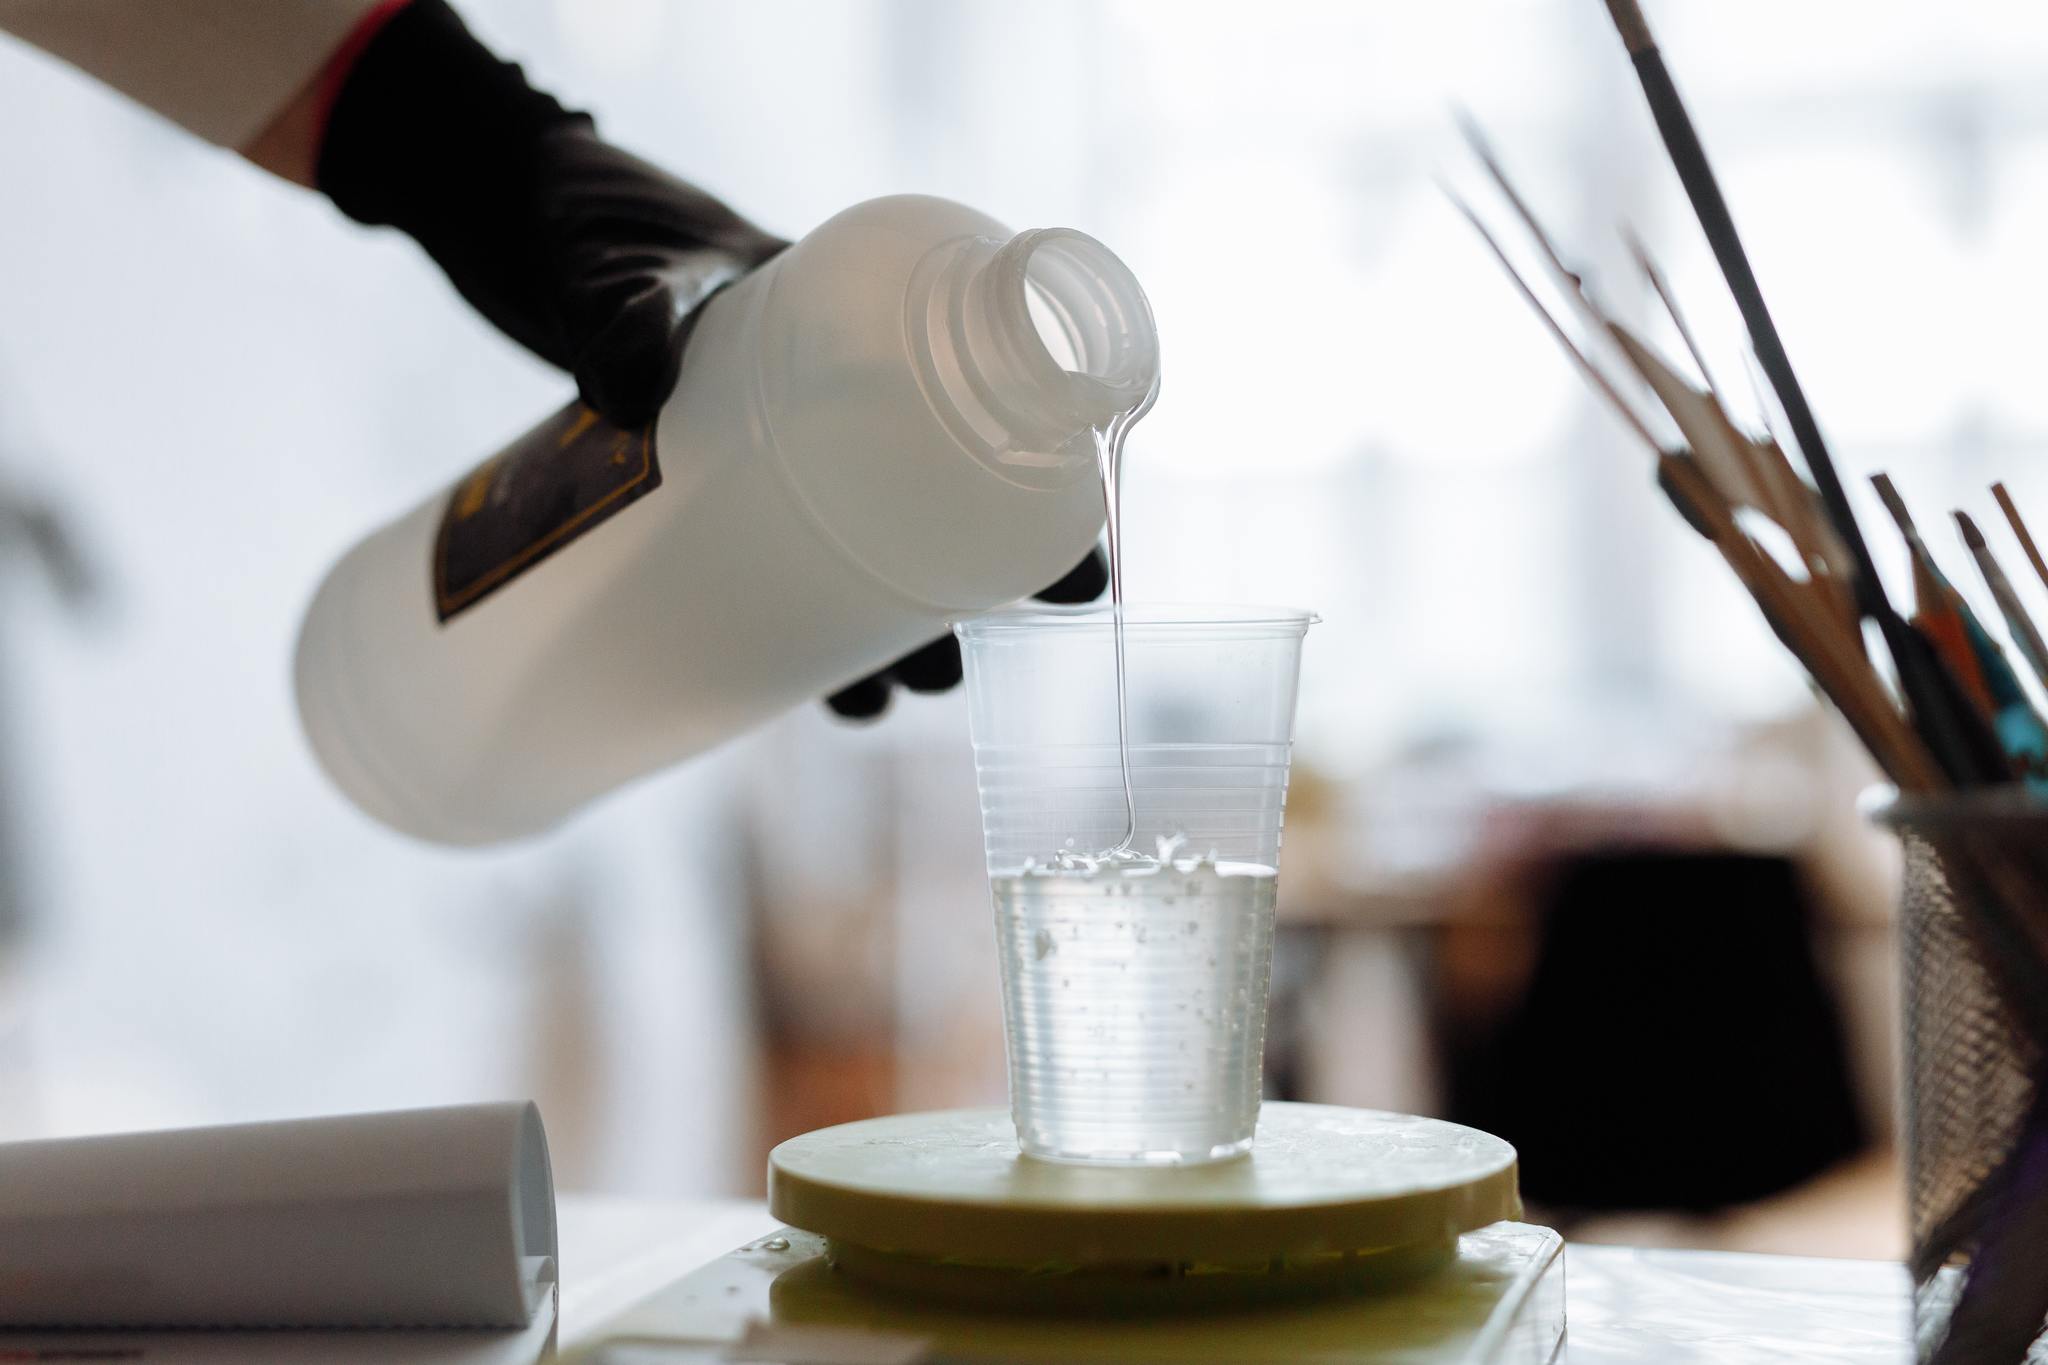
Mix one large batch of resin and split it into 4 different shades of blue graduating in deepness, as well as one cup of white.

Start the pour from one corner of your tray. Start with the darkest color and move towards the lightest. Once you archive the look you are going for smooth out the bubbles with a gloved hand popsicle stick and lastly a heat gun.
For a realistic wave add clear resin at the end to break up the colors. Then create the look of seafoam at the end of the waves by painting an edge of white resin.
Then use the heat gun to blend the last white section towards the waves you created.
Let the board cure for a few hours. Once dry remove the tape and voila!