Layering multiple wrapping papers can slow the unwrapping moment down and even spark curiosity. After all, anticipation is half the fun! Layering multiple wrapping papers can also create more depth, texture, and surprise in a way single-paper wraps simply can’t achieve! So, how can you get this right? Let’s take a closer look.
Key Takeaways
- Layering wrapping paper adds depth, texture, and surprise to any gift.
- Use one statement wrap, one neutral base, and optionally a third light or translucent layer.
- Always layer from heaviest to lightest paper to avoid tearing.
- Stick to a cohesive color palette with no more than three layers.
- Clean finishes and invisible adhesives create a boutique-quality presentation.
- Finishing touches like silk ribbons or natural elements elevate the gift.
Why Layer Wrapping Paper
While a single sheet can be simple and timeless, layering takes gift presentation to the next level. Each additional layer adds depth, texture, and a sense of anticipation—transforming unwrapping into part of the experience itself.
When done thoughtfully, layered wrapping feels intentional and personal. It signals care and creativity, making even the smallest gift feel special and memorable long before the box is opened.
| Style Name | Base Paper | Accent Layer | Finishing Touches |
|---|---|---|---|
| Minimalist Look | Crisp white matte wrap | Slim champagne metallic band | Narrow silk ribbon & custom tag |
| Modern Monochrome | Soft grey linen wrap | Translucent vellum sheet | Black velvet ribbon & gold wax seal |
| Nature-Inspired Layers | Classic kraft paper | Sage-green panel | Jute twine & sprig of lavender |
Choosing the Right Wrapping Papers
Successful layering often comes down to balance and restraint. Each paper should add something different—a texture, a tone, or a subtle highlight—while still working as part of a whole.

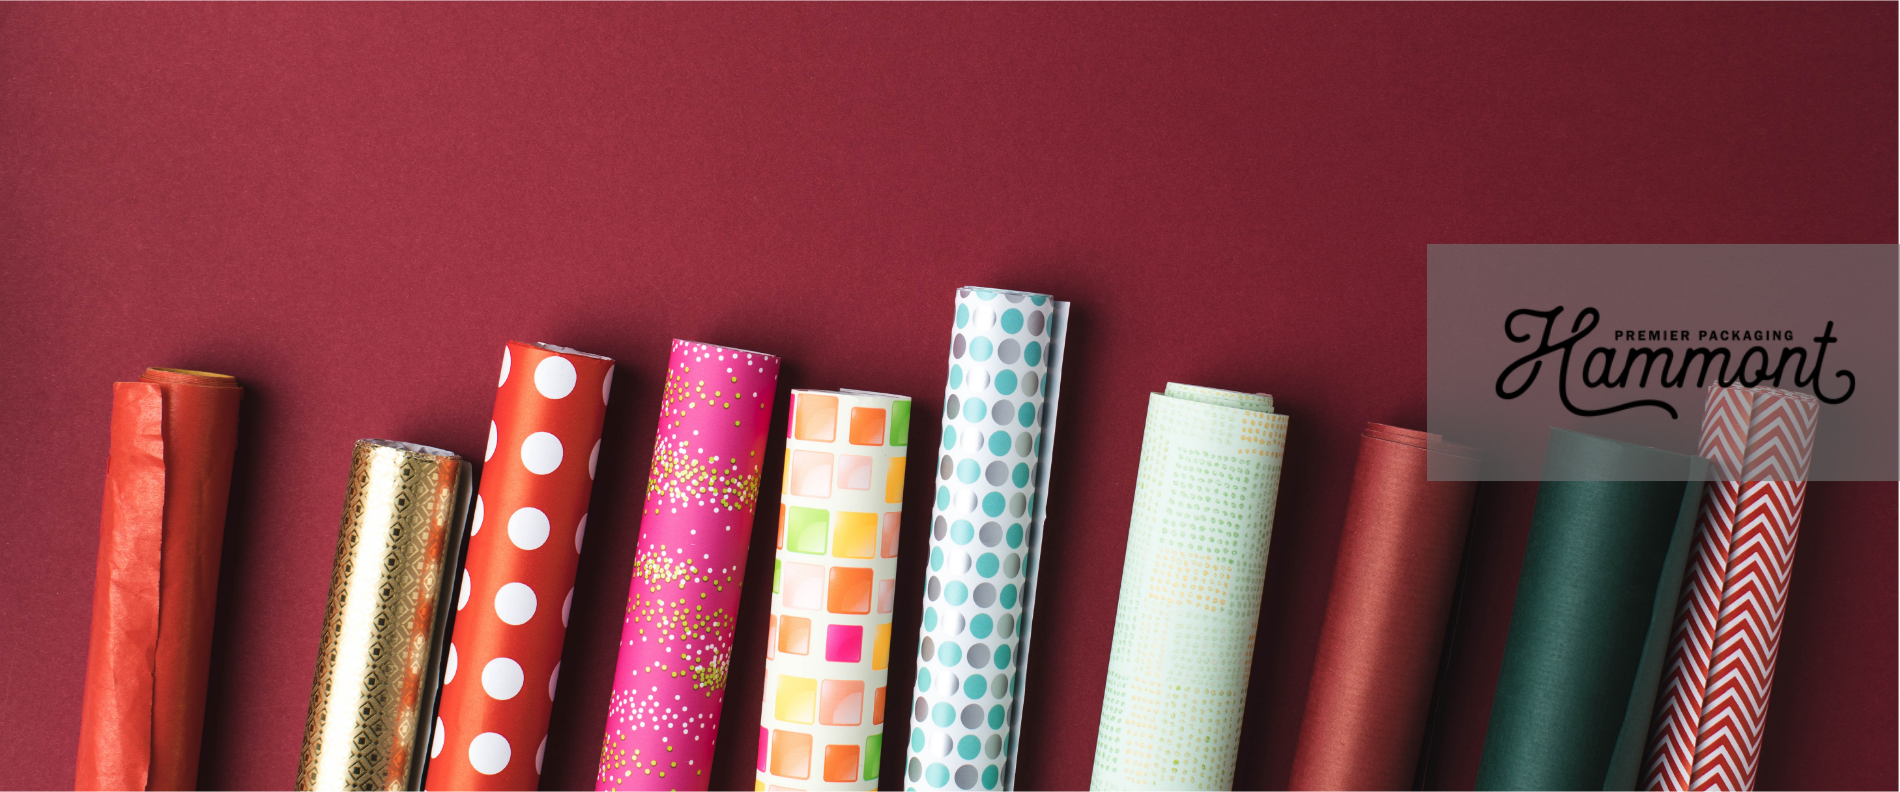
So, start by choosing one statement layer, like a bold geometric print, delicate floral, or metallic foil. Pair it with a more neutral base: think soft ivory beneath champagne shimmer or natural kraft paired with marbled accents. Finally, add an optional third layer—something slim or translucent—to give a hint of contrast without overpowering the look.
Mixing matte papers with gloss finishes or pairing linen-textured kraft beneath a translucent vellum overlay can further add more depth. But make sure to keep your palette tight: two or three complementary shades, with metallics or soft foils as accents, to create a polished and cohesive finish!
Step-by-Step Guide to Layering Wrapping Papers
Done right, layering looks effortless—but the secret is precision and intention. So, follow these steps to create a boutique-quality wrap that won’t miss the mark!
Step 1: Start With a Solid Base
Choose your most durable paper for the foundation. Smooth, crisp folds are key, so take your time here. Use double-sided tape wherever possible to keep seams invisible.
Step 2: Add Your Statement Layer
Select your patterned, textured, or metallic sheet and size it slightly smaller than the base so the edges peek through. For a modern twist, position it off-center or diagonally for subtle asymmetry.
Step 3: Incorporate Accent Strips or Panels
Sometimes less is more—a slim vertical band or wide horizontal strip can completely change the design. These accents act as framing elements, making the package look considered and editorial.
Step 4: Hide the Work
Clean finishes make all the difference. Secure everything with clear double-sided tape, glue dots, or mounting strips. Keep folds sharp, edges smooth, and adhesives invisible for that high-end boutique look.
Lastly, ensure you always layer from heaviest to lightest paper. Placing lightweight sheets on top creates a natural cascading effect and prevents tearing.
Step 5: Finishing Touches
Once your papers are layered, the styling details take the design from beautiful to breathtaking. For example, soft silk or velvet ribbons create dimension and texture. Meanwhile, a wax seal or embossed sticker adds a tailored signature. For a natural touch, slip in a sprig of eucalyptus or dried florals beneath the ribbon.
Inside bags or boxes, coordinate your tissue paper with the outer wrap for a polished, considered finish. Carrying the colour palette through every layer creates a seamless, elevated gifting moment.
3 Layering Styles to Try
Rule of thumb: don’t overcomplicate things! And if you’re still wondering how to put this style together, here are three distinct options to inspire your next gift presentation:
-
The Minimalist Look: Pair a crisp white matte wrap with a slim champagne metallic band, then finish with a narrow silk ribbon and a custom tag for an understated, refined look.
-
Modern Monochrome: Go for a soft grey linen wrap layered with a translucent vellum sheet, topped with a black velvet ribbon and a gold wax seal for a sleek, contemporary finish.
-
Nature-Inspired Layers: Use a classic kraft paper base accented with a sage-green panel, then tie it all together with jute twine and a fresh sprig of lavender for an organic, earthy feel.
Common Pitfalls to Avoid
Layering wrapping paper can create a stunning effect, but a few missteps can make the presentation feel cluttered or unpolished. Keep these tips in mind for a more refined finish:
-
Don’t overload it with layers: Using more than three layers can make the package look bulky and messy instead of sleek and intentional.
-
Beware of clashing patterns: Mixing too many busy designs competes for attention; choose one statement print and let the others complement it.
-
Avoid overusing bold colours: Too many bright or contrasting shades can overwhelm the design; stick to a cohesive colour palette.
-
Don’t choose low-quality paper: Thin, glossy, or budget wraps crease and tear easily, taking away from the overall layered effect.
-
Make sure not to neglect proportion: Uneven spacing or mismatched panel sizes can make the layers look accidental rather than artfully planned.
Every fold, every contrast, and every little detail adds depth and meaning, turning a simple gift into a moment the recipient won’t forget. With the right mix of textures, tones, and finishing touches, your packaging doesn’t just hold the gift—it becomes part of the story.
For a truly elevated finish every time, explore Hammont’s curated collection of premium wrapping items.
Frequently Asked Questions
Q: How many wrapping paper layers should I use?
A: Stick to 2–3 layers. More than that can look bulky or messy.
Q: What order should I layer the papers?
A: Start with the heaviest or most durable layer at the base, and place the lightest on top.
Q: Can I mix matte and glossy papers?
A: Absolutely! Mixing textures like matte with gloss or vellum adds elegant contrast.
Q: How do I keep it looking clean?
A: Use double-sided tape, clean folds, and invisible adhesive to maintain a polished look.
Q: What finishing touches work best?
A: Try silk ribbons, wax seals, dried florals, or custom tags to elevate the final presentation.

