Cart
0
You may also like


Book a call with our development team to get started.


Apply online and access wholesale pricing.
While store-bought paper is convenient, it often lacks personal flair. But DIY stencils offer a creative, budget-friendly way to transform plain paper into something custom, personalized, and eye-catching.
With just a few simple tools and a little imagination, you can create wrapping paper that stands out for all the right reasons. So, let’s make some DIY stencils!
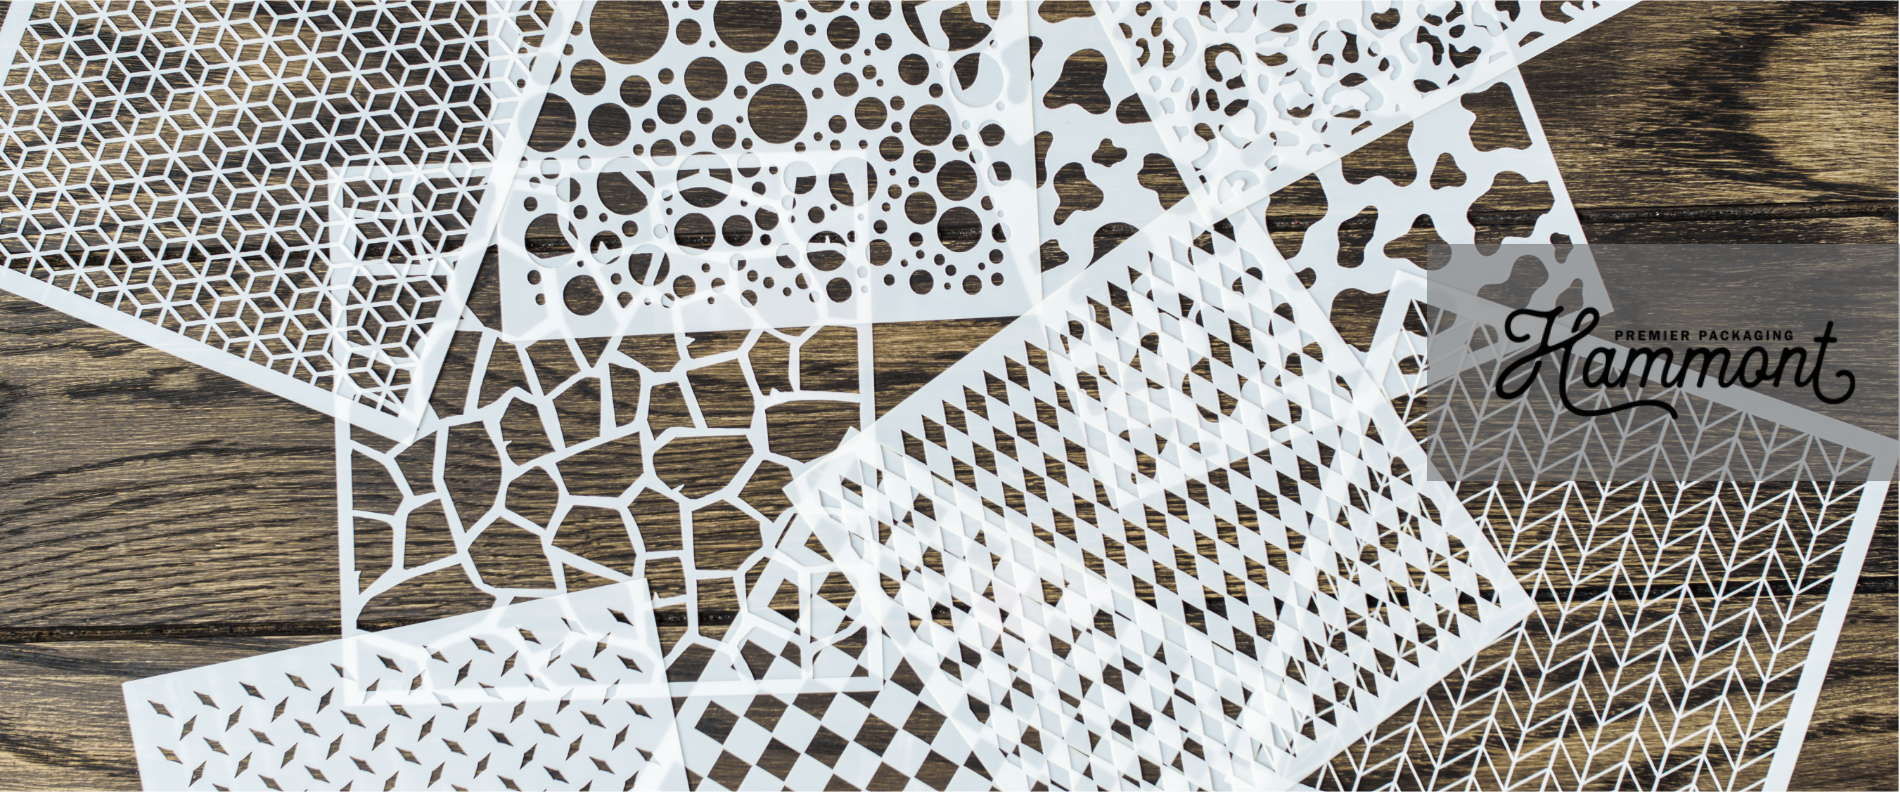
Making your own stencils is easier than it looks. And the process opens up countless possibilities for gift or product wrapping. Start by choosing a sturdy material. Cardstock and thin plastic sheets are popular options because they hold their shape, can be reused, and give you clean lines.
Next comes the design. You can sketch freehand, trace shapes, or download templates online. Many people also use everyday objects—like leaves, lace, or doilies—as natural patterns.
Once you have your design, cut it out carefully using a craft knife or precision scissors. If you plan to make stenciling a regular part of your packaging, consider investing in a digital cutter like a Cricut or Silhouette for professional results.

And ensure you take your time during the cutting process. A sharp blade, cutting mat, and slow, steady strokes will make all the difference. The cleaner the stencil, the sharper your final design will look. Another pro tip: start with simple shapes; this will help you build confidence before moving on to more complicated and intricate patterns!
| Technique | Result/Effect | Best For | Tips |
|---|---|---|---|
| Stippling (Paintbrush) | Soft, textured look with no bleeding | Detailed or delicate stencil designs | Use a dry brush and tap lightly for better control |
| Foam Roller / Sponge | Smooth, even coverage over large areas | Fast coverage for bold patterns | Use minimal paint to prevent bleeding under stencil |
| Spray Paint / Airbrush | Clean, bold, modern finishes | Modern or graphic designs | Work in a ventilated area and tape stencils securely |
| Ink Pad + Stencil | Crisp and detailed designs | Fine-line or logo-style stencils | Use gentle pressure and dab, not drag |
The material you choose will determine how durable, reusable, and crisp your stencil designs turn out. For beginners, thick cardstock is an easy option because it’s inexpensive, simple to cut, and widely available. The downside is that it won’t hold up well after repeated use, especially if you’re working with paint or ink.
If you want something longer lasting, thin plastic sheets, such as Mylar, are the gold standard. They resist moisture, keep their shape, and can be cleaned between uses. Recycled plastic packaging, such as clear food containers, can be cut into workable stencils, making it an eco-friendly alternative.
Ultimately, the two most popular choices include:
Cardstock: Budget-friendly and simple to cut, best for one-time or short-term use.
Mylar Sheets: Durable, washable, and reusable, ideal for frequent projects or business packaging.
For one-off projects, even household items can double as stencils, including lace, mesh, or leaves pressed flat. Whatever you choose, make sure it’s sturdy enough to stay in place but flexible enough to bend slightly over wrapping paper for clean, consistent results.
The right technique will keep lines clean and give your wrapping paper a polished finish. Perhaps the most simplest method is paintbrush stippling, where you lightly tap paint onto the paper through the stencil. This prevents bleeding and creates a soft, textured look.
For larger areas, foam rollers or sponges give even coverage and work quickly. If you want bold, modern results, spray paint or an airbrush can produce striking effects—just remember to work in a well-ventilated area.
Ink pads and stamping through stencils are another option for fine details, especially if you’re going for a crisp, professional appearance. To avoid smudges or paint bleed, secure your stencil with painter’s tape and use light, even pressure. Always allow enough drying time before layering designs or wrapping your gift.
And with a little practice, you’ll learn which technique suits your design and wrapping style best!
Even simple stenciling can go off track if a few key steps are overlooked. The most common issue is using too much paint, which causes the color to seep under the stencil and blur the design. Always start with a light layer and build up gradually if needed.
Another mistake is rushing the drying process. Wrapping paper that isn’t fully dry can smudge easily, undoing all your effort. Again, give each design enough time to set before adding more layers or handling the sheet!
Flimsy materials are another culprit. Thin paper or poorly secured stencils may tear or shift during use, leading to uneven lines. A quick test run on scrap paper helps you spot problems early.
Taking a few extra minutes to prep—securing your stencil, applying light paint, and letting it dry—goes a long way toward achieving clean, professional-looking results. Additionally, we recommend doing a test run first on other pieces of paper before applying it to your wrapping paper. This can help you practice and get your technique down pat!
DIY stencils make it easy to turn plain wrapping paper into something that feels thoughtful, creative, and polished!
Yet, choosing the right materials, experimenting with different designs, and applying simple techniques can ultimately help you create seamless designs that stand out from the rest.
Whether you’re personalizing presents for family and friends or adding a branded touch to business packaging, stenciled wrapping offers a balance of style and sustainability. The best part? Every project is unique. With just a bit of time and imagination, your packaging becomes more than just a cover—it becomes part of the gift itself. If you’re curious to explore other gifting options, check out Hammont’s premium packaging today!
Q: What's the best material for DIY stencils?
A: Cardstock is great for one-time use. Mylar is durable, washable, and best for repeated use.
Q: How do I stop paint from bleeding under the stencil?
A: Use a dry brush or sponge with minimal paint and secure the stencil firmly with painter’s tape.
Q: Can I reuse stencils?
A: Yes—especially if you use Mylar or plastic sheets. Just clean them after each use.
Q: What’s the easiest technique for beginners?
A: Start with stippling using a small paintbrush for more control and cleaner lines.
Q: How long should I let stenciled wrapping paper dry?
A: Allow at least 1 hour, or more depending on the paint type and thickness used.