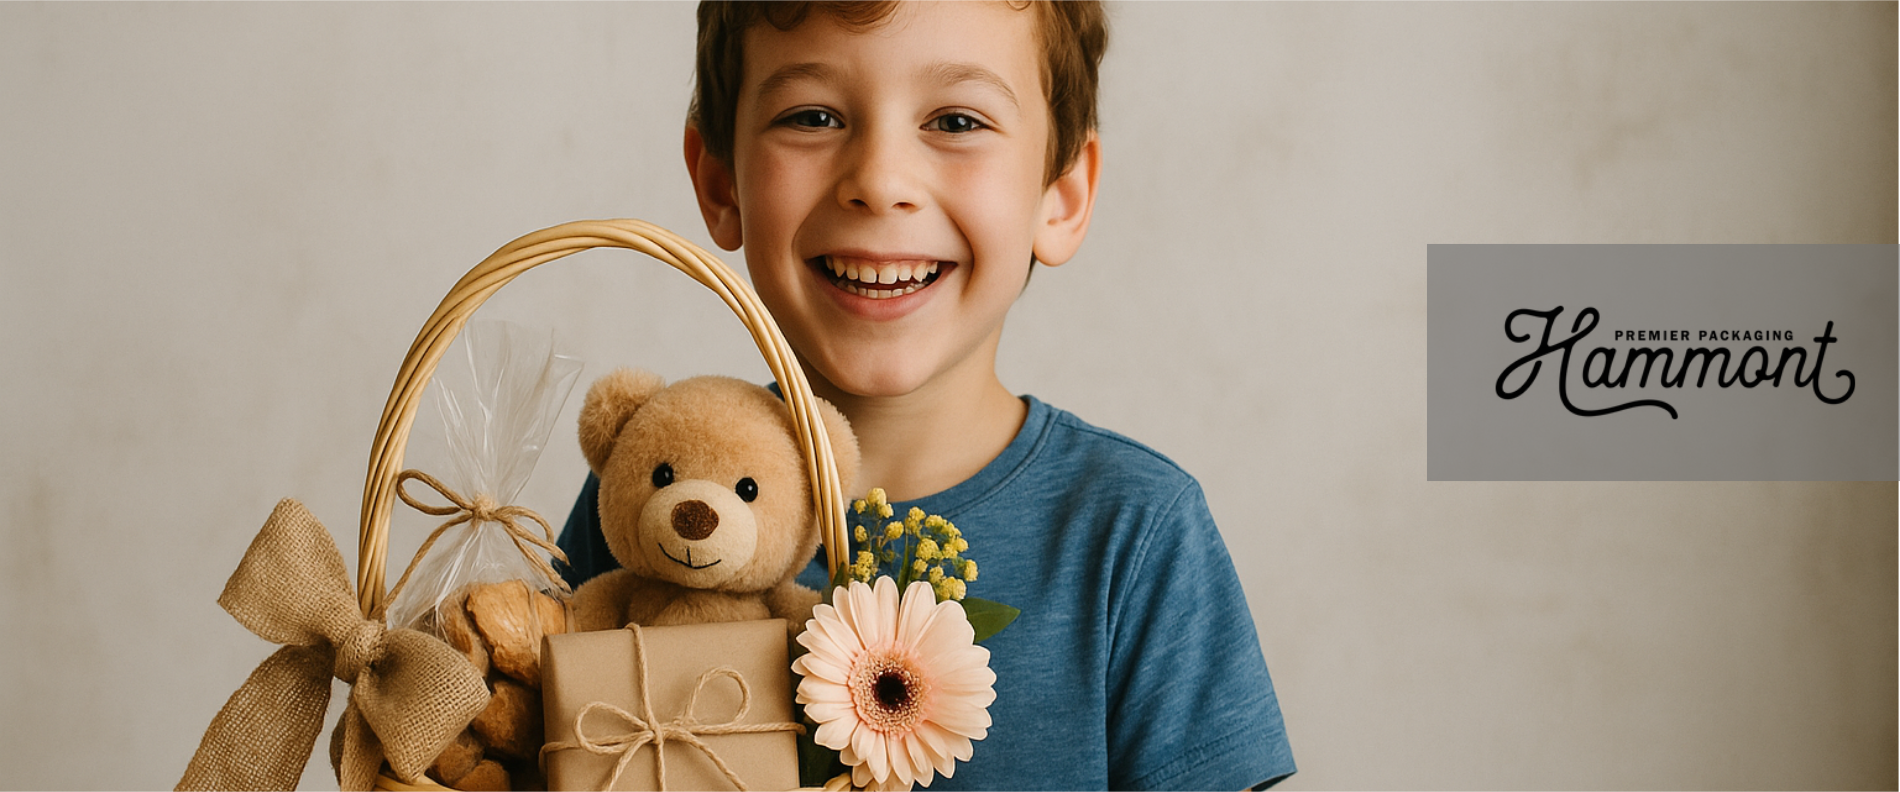
Getting creative with your kids can be loads of fun. Fueled by their imagination, so many great things can come out of these craft sessions. And useful things can come out of these activities when you combine crafting with making gift baskets or gifts for someone you all love.
On the flip side, gift baskets also offer a personal way to surprise kids for birthdays, holidays, or just because you want to make them smile. You can tailor it to any child, whether they love dinosaurs, art, or superheroes.
After all, there’s something special about watching a child discover each item you’ve carefully chosen just for them. So, let’s walk through this whole thing step-by-step. How can you make the best gift basket for kids?
| Step | Action | Space Theme Example | Unicorn Theme Example | Dinosaur Theme Example |
|---|---|---|---|---|
| 1 | Choose a Theme | Outer Space Kit | Magical Unicorn Crafts | Dino Explorer Set |
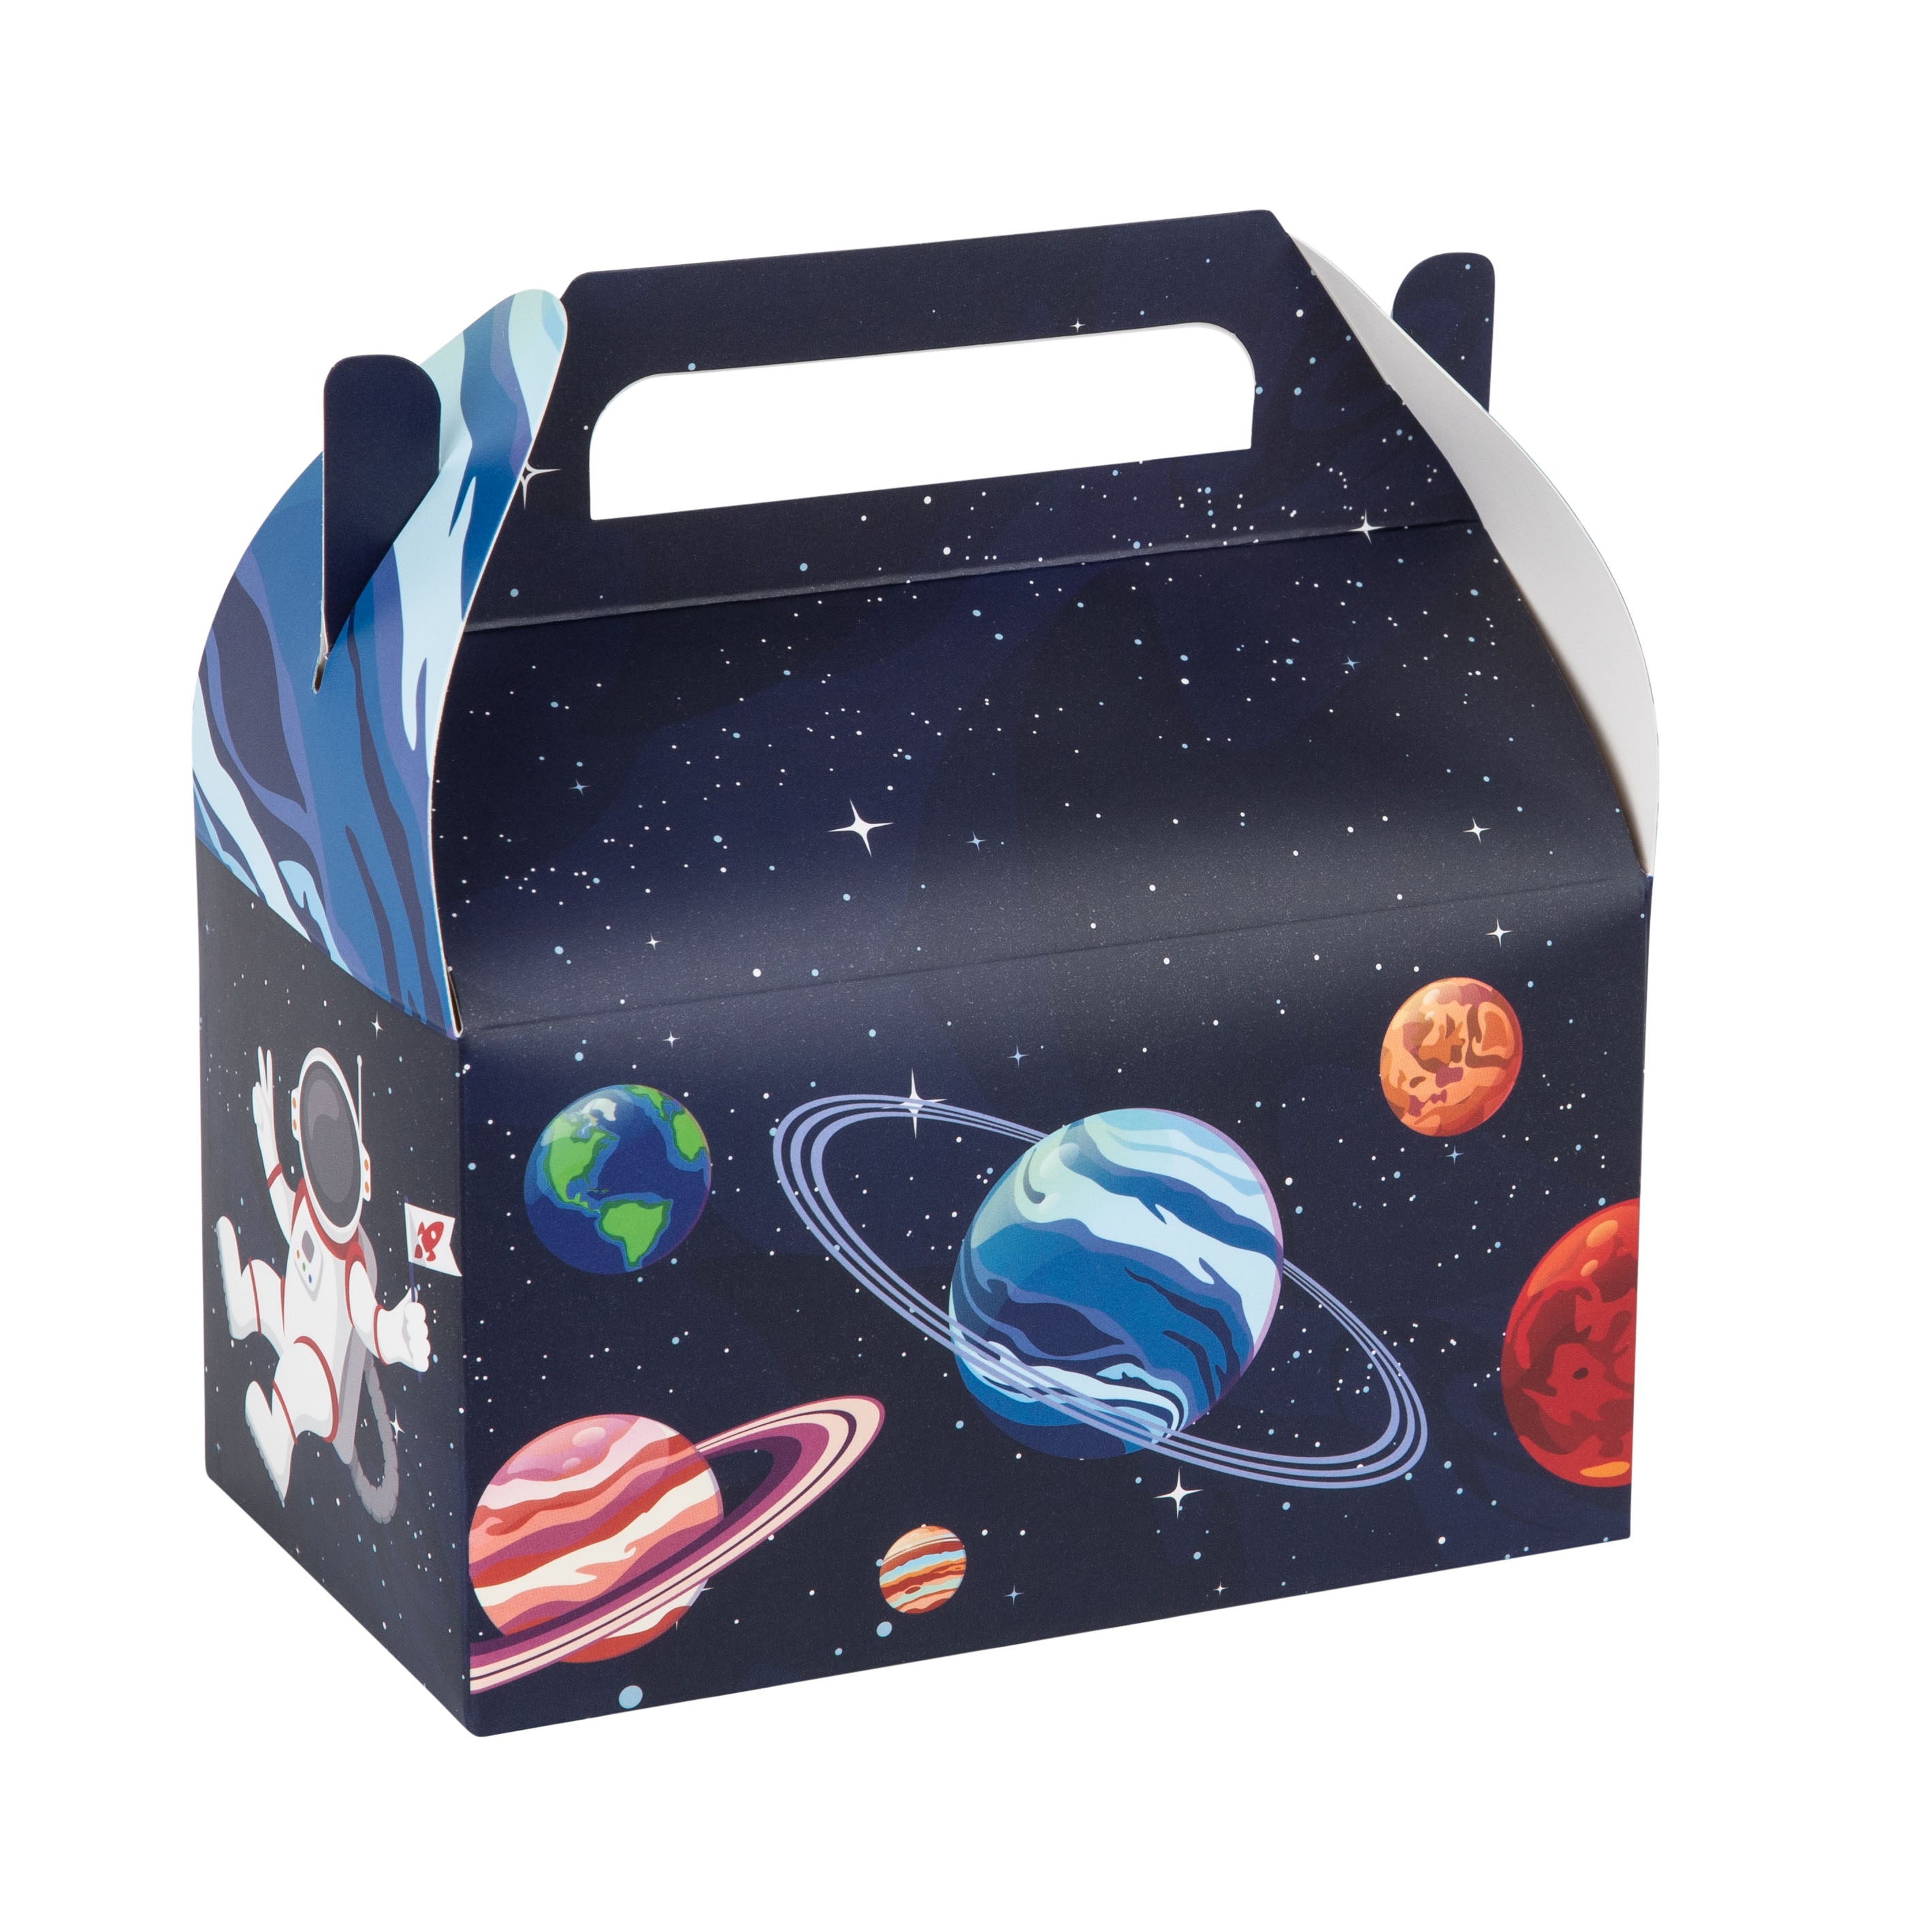
| 2 | Pick Container | Rocket-shaped bin | Pink glitter basket | Green jungle tote |
| 3 | Main Gifts | Telescope toy | Unicorn plush | Dino building set |
| 4 | Filler Items | Star stickers | Glitter pens | Dino erasers |
| 5 | Personal Touch | Space rock painting | Unicorn friendship bracelet | Dino footprint stamp |
| 6 | Arrangement Tips | Tall spaceship back | Unicorn plush centerpiece | Dino tail peeking out |
| 7 | Wrapping Ideas | Silver cellophane wrap | Rainbow ribbon bow | Green leafy bow |
How to Assemble a Gift Basket Step by Step?
Each element of your gift basket works to create a moment of joy when the child opens it. It truly takes gift-giving up a notch! So, let's break down the process of making one of these gift boxes into easy and manageable steps.

Step 1: Choose a Theme
Start with a theme that matches what the child loves. Do they talk constantly about space? Are they obsessed with unicorns or dinosaurs? Maybe they love art or science experiments.
Using their interests as your guide makes the basket feel made just for them. Themes also help when you’re shopping—instead of getting overwhelmed by options, you can focus on items that fit your chosen concept.
For younger kids, simple themes work best. In contrast, older children might appreciate more specific interests like a favorite book series or hobby.
Step 2: Pick the Basket or Container
Your “basket” doesn't need to be a traditional wicker one. Think about the containers the child might use afterward. For instance, a plastic bin with a lid could store LEGO pieces later. A colorful bucket can become a must-have for beach trips. Canvas totes are ideal for older kids who may use them for sleepovers or other activities.
Ultimately, you’ll want to choose something sized right for your gifts—not so big that everything looks lost inside, but roomy enough to display items well. Line the bottom with tissue paper, crinkle paper, or even a small blanket to create a soft base.
Step 3: Select the Main Gifts
These are the centerpiece items that will catch the child’s eye first. For a sports fan, this might be a new ball or team gear. An art lover would appreciate quality markers or a drawing pad.
Choose one to three items that will stand out based on your budget and basket size. Make sure these items are age-appropriate and safe. Strive to strike a balance between pure fun and items that may encourage learning or creativity. These main gifts set the tone for the entire basket and should connect clearly to your theme.
Step 4: Add Small Filler Items
Smaller items create excitement as kids discover what’s tucked between the bigger presents. And no, these smaller items don’t need to be expensive—think stickers, bouncy balls, character erasers, or small snacks. Try to keep even these smaller items connected to your theme when possible.
Other examples include space-themed pencils for a space basket or animal crackers for a zoo theme, which can tie everything together. Consider wrapping some of these items in tissue paper for an extra element of surprise. Kids love unwrapping things, and this turns one gift into many little discoveries!
Step 5: Personal Touches
Adding something handmade transforms a nice gift into something truly special. Include a card with a message written just for them. If you’re crafty, make a small item like a friendship bracelet or a painted rock (or have one of your little helpers do this for you!).
Step 6: Arrange the Items Neatly
Inevitably, the presentation matters a lot with gift baskets. So, here are a few tips for this step:
-
Place taller items toward the back and shorter ones in front so everything is visible.
-
Use crinkled paper or small items to prop things up if needed.
-
Make sure the most exciting gift is positioned where it will be seen first.
-
Spread colors throughout the basket for visual appeal.
-
Don’t pack items too tightly—leave some breathing room so each gift can be seen and easily removed.
Step 7: Wrap and Finish the Basket
Decide whether to leave your basket open or wrap it. For example, clear cellophane creates a polished look while still allowing the contents to be visible. Secure with a ribbon that complements your theme colors.
For open baskets, a big bow can add a festive touch. Add a name tag so the child knows this was made especially for them.
And if you’re feeling extra, attach a small balloon or noisemaker to the outside!
Final Tips & Takeaways
Remember that kids respond more to thoughtfulness than perfection. Your basket doesn’t need to look like it came from a professional gift shop to be a hit. Stay within your budget by mixing a few special items with simple, inexpensive ones—children often love the small surprises just as much as the big gifts.
Consider making the basket a family project. Siblings can contribute ideas or help wrap items. This teaches the joy of giving, not just receiving.
Whether you’re presenting the basket in person or sending it through the mail, take a moment to imagine the smile it will bring. That’s really what this is all about—creating a moment of joy for a child who matters to you!

