Cart
0
You may also like


Book a call with our development team to get started.


Apply online and access wholesale pricing.
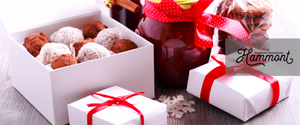
Sometimes, the best gifts come in small packages—especially when those packages are part of a thoughtful, themed collection. Whether it’s a relaxing spa night, a tasting tour of local wines, artisan chocolates, gourmet cheeses, or regional treats, grouping smaller items can make your gift feel personal, intentional, and full of care.
But you don’t need elaborate wrapping skills or a designer’s touch to make these types of gifts look beautiful. With a few simple touches, you can package everything in a way that feels polished and thoughtful. Below, we explore how you can package multiple small gifts together, including with gift baskets, large boxes, advent-calendar-style, and more.
So, how can you ensure those small gifts look cohesive, without compromising aesthetics? Keep reading to find out.
A gift basket doesn’t have to be left up to the pros! You can make your very own, with minimal effort and budget. Here’s how.

Select a basket that complements your theme and is spacious enough to comfortably accommodate all the smaller items. Wicker baskets work for most occasions. Yet, metal containers may suit a more modern theme.
Line the basket with coordinating tissue paper, fabric, or shredded filler. This creates a clean backdrop and helps secure items in place. Choose colors that enhance your theme—neutral tones for sophisticated looks, or vibrant colors for playful presentations.
When choosing a color, you may also want to consider your theme and the color of the gifts themselves. What matches them well and catches the eye?
Place your largest or heaviest item first as an anchor, typically toward the back. Build forward with medium-sized items, then nestle smaller pieces in the gaps. This creates depth and ensures everything is visible.
Tuck additional filler around items to prevent any awkward shifting and to create a full, abundant appearance. Small decorative elements, such as ribbon curls, artificial flowers, or themed trinkets, can also add visual interest without overwhelming the main gifts.
Encase the entire basket in clear cellophane, gathering it at the top with a ribbon or bow. Add a gift tag and consider including a small card that outlines how the items work together as a cohesive experience.
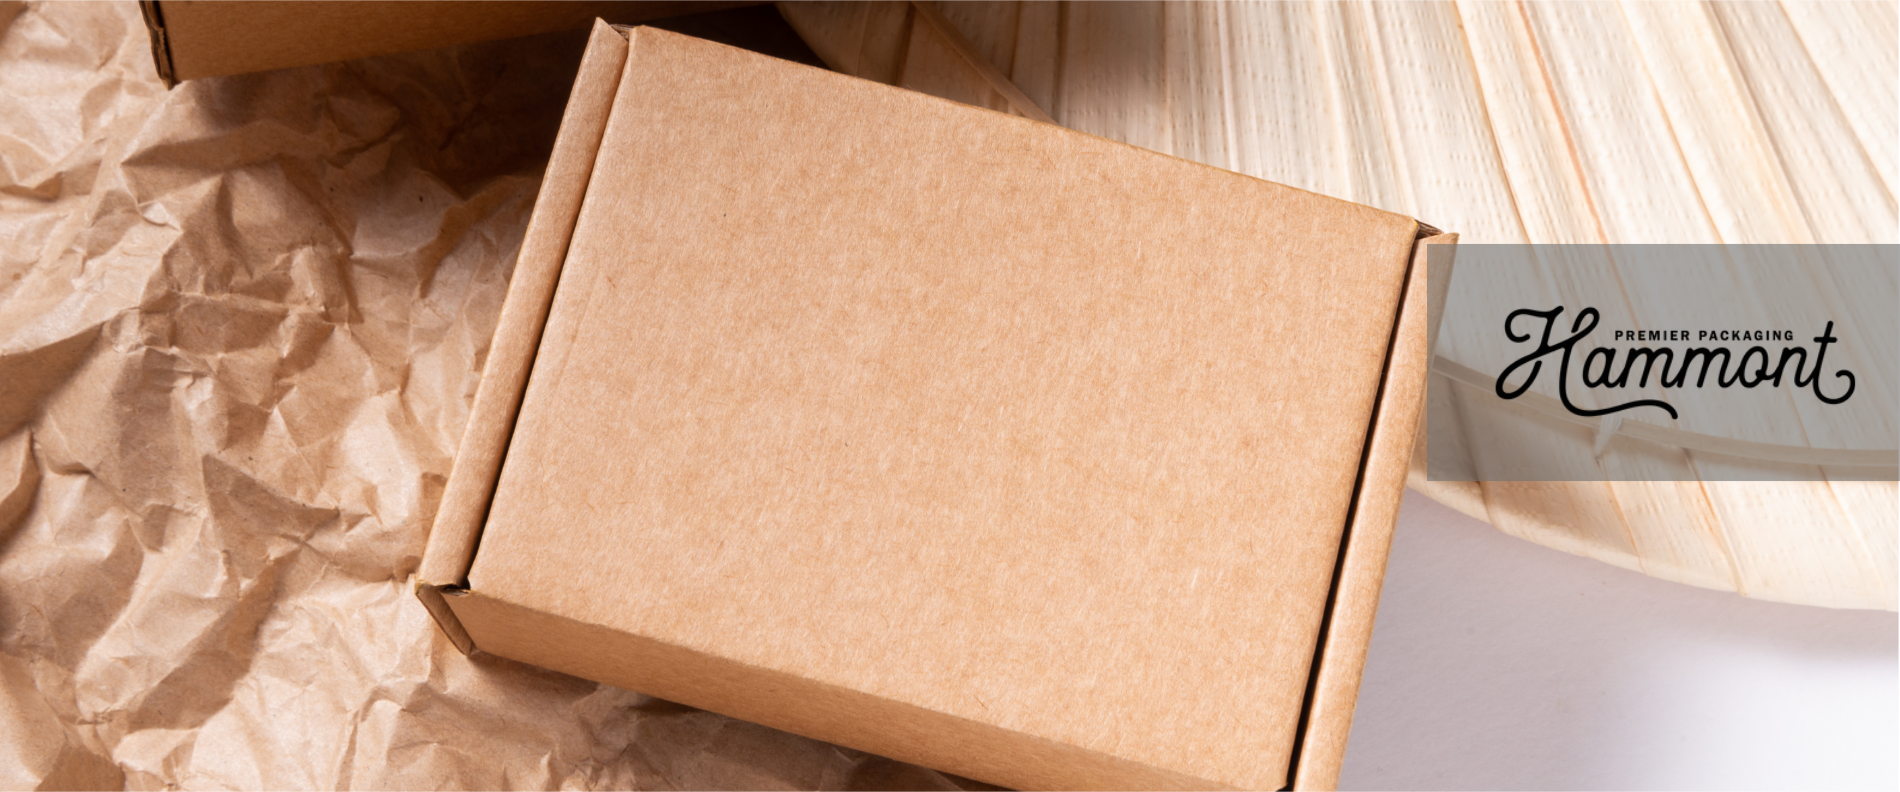
A large decorative box offers a sleek, elevated way to present multiple small gifts while preserving an element of surprise. Unlike gift baskets, where contents are immediately visible, a box invites curiosity—the recipient lifts the lid to uncover the thoughtfully chosen items inside.
So, select a sturdy, well-proportioned box that suits the size and theme of your gift collection. Options like decorative hat boxes, wooden crates, or elegantly wrapped shipping boxes all work beautifully. The style of the box should reflect the mood you’re creating. For instance, rustic and warm style calls for natural wood (or something that resembles it but isn’t as heavy!). Meanwhile, for a more refined and modern look, a glossy finish might be best.
Line the interior with coordinating tissue paper or fabric. This creates your base. Then, arrange your gifts with care, starting with larger items and filling in spaces with smaller pieces.
To create visual interest and depth, consider layering: use a piece of cardboard wrapped in tissue to separate tiers and reveal items gradually. Alternatively, you can also purchase sectional gift boxes that work well, too.
For a meaningful touch, include a handwritten note explaining the theme or story behind the collection. This turns a set of individual items into a cohesive, curated experience. And because decorative boxes are often reused, your gift presentation continues to bring value long after the contents have been enjoyed.
If you’re looking to add a bit more excitement, consider transforming your collection of small gifts into an interactive advent calendar experience that extends the joy over multiple days or weeks. This can work well for birthdays, holidays, or any special occasion where you want to create lasting anticipation and excitement.
Start by gathering small containers—tiny boxes, paper bags, envelopes, or even repurposed jars work perfectly. Number each container sequentially and fill them with your individual gifts.
You can even create themes for different days, such as “sweet treats Monday” or “relaxation Wednesday,” or simply distribute items randomly for delightful surprises.
Display your advent calendar creatively by hanging numbered bags on a decorative branch, arranging boxes on a tiered stand, or creating a wall display with small shelves or pockets. But make sure to consider the recipient’s space and preferences when choosing your presentation method.
All in all, this can be a really fun way to make your gift unique and the ungifting experience that much more exciting for your loved one or customer!
When traditional packaging feels too ordinary, get creative and try these tips:
Wrap each gift separately and stack them into a tall tower tied together with ribbon for a dramatic reveal.
Include a scroll or printed card that guides the recipient through each gift with brief descriptions or suggested order.
Turn the gift-opening experience into a treasure hunt using playful clues or a simple hand-drawn map.
Create a personalized “gift menu” that introduces each item, especially for themed experiences like tastings or self-care.
Tuck each gift into its own pocket within a fabric wall organizer, felt panel, or hanging shoe holder.
No matter which approach you choose, the thought and care you’ve put into your gift is already clear—especially if you’ve made it this far in this article!
Curious about what to package your gift with? Browse our collections at Hammont today!