Cart
0
You may also like


Book a call with our development team to get started.


Apply online and access wholesale pricing.
Once used to secure envelopes, authenticate documents, and signify status, wax seals date back to the Middle Ages, when monarchs and nobles pressed their unique crests into warm wax as a mark of authority and trust. Over the centuries, these small imprints evolved into a symbol of refinement—gracing letters, invitations, and keepsakes.

Today, wax seals are making a comeback beyond stationery. Their old-world charm can give a lot to any gift presentation, adding both texture and personality. With just a few tools and a little practice, anyone can create wax seals at home—turning ordinary packaging into something unforgettable. So, how can you do that? Here’s your step-by-step guide to DIY wax seals, so you can use them to add a timeless charm to any gift box.
| Key Takeaways |
|---|
| Wax seals add a touch of timeless elegance to any gift box, transforming ordinary packaging into something memorable. |
| You can choose from multiple wax types—sticks, beads, or glue-gun styles—depending on how many boxes you're sealing. |
| Workspace preparation is key: use parchment or silicone mats to avoid mess and ensure consistency. |
| Custom wax stamps (like monograms or logos) add branding and personality to your seals. |
| Direct sealing offers a traditional, luxurious look, while pre-made seals offer batch convenience. |
Every great wax seal starts with the right toolkit. Taking a few minutes to prepare your materials upfront will make the entire process smoother—and help you achieve a consistent, professional finish. Here’s what you’ll need:
Sealing wax: Choose between sticks (with or without a wick) or small beads. Both come in a wide range of colours, from classic gold and burgundy to modern neutrals or pearlescent shades.
Wax seal stamp: This is the star of the show. You can select a ready-made design, order a custom stamp with your initials, or opt for something that reflects your brand—such as a floral motif, geometric pattern, or company logo.
Heat source: Depending on your wax type, this could be a glue-gun style melter for quick, mess-free use, or a spoon held over a tealight for a more traditional feel.
Non-stick surface: Parchment paper or a silicone mat is handy if you want to make seals in bulk before attaching them to your boxes.
Gift box and ribbon or twine: Your chosen packaging provides the canvas where the wax seal will truly shine.
| Step | Description |
|---|---|
| 1. Gather Your Materials | Collect sealing wax (sticks or beads), a stamp, heat source, non-stick surface, gift boxes, and ribbon or twine. |
| 2. Choose Your Wax Color | Select wax colours that align with the mood or theme of your packaging—earthy tones, metallics, or bold contrasts. |
| 3. Prepare Your Workspace | Cover your surface, keep tools nearby, and ensure a clean layout to make the process smooth and spill-free. |
| 4. Melt the Wax | Use a glue gun, spoon, or wick stick to melt wax. Melt slowly for best consistency, and avoid overheating. |
| 5. Pour and Stamp | Drip or pour the wax onto your gift box and press the stamp while the wax is still warm. Hold, then lift cleanly. |
| 6. Let the Seal Set | Wait a minute for the wax to cool and harden. Avoid touching too early to keep the impression crisp. |
| 7. Add Finishing Touches | Add metallic powder, dried flowers, or foil for an extra decorative element after the seal has set. |
| 8. Apply to Gift Boxes | Seal directly on the box or use pre-made seals with glue dots. Center or offset placement adds style. |
The color of your wax sets the mood for your entire package, so it’s worth taking a moment to decide what impression you’d like to create.
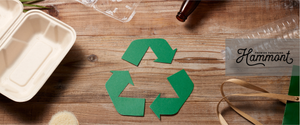
A great place to start here is to think of the wax as part of the overall story your gift box tells. Pairing a natural kraft or clear box with sage-green or copper wax, for instance, communicates an eco-chic sensibility, while a sleek black box topped with a metallic seal feels bold and dramatic.
Before you melt the first drop of wax, it’s important to set the stage for a smooth and enjoyable process. Wax hardens quickly, and a little spill can leave an unwanted mark on your packaging, so having a tidy, well-organized space makes all the difference.
So, start by covering your surface with parchment paper or a silicone mat to protect against drips. Place your wax, stamp, and heat source within easy reach so you won’t scramble once the wax is ready to pour. It also helps to keep a damp cloth nearby to wipe your stamp or tools if needed.
When everything is laid out and ready to go, you’ll feel more relaxed and confident. And this will allow you to focus on the creative side of sealing rather than worrying about small mishaps!
With your workspace ready, it’s time to bring the wax to life. The method you choose will depend on the type of wax you’re using and how many boxes you plan to seal.
Traditional wax sticks with a wick can be lit like a candle, allowing the wax to drip directly where you want it, though this approach can be a little less precise. Yet, glue-gun style sticks melt quickly and cleanly, making them ideal for sealing multiple boxes in a short period of time.
However, melting wax beads in a spoon over a tealight candle offers the most creative flexibility, allowing you to mix colors for marbled effects or add metallic flakes for a unique finish.
Whichever method you choose, aim for a steady, even melt rather than rushing the process. Wax that’s too hot can become runny and hard to control, while wax that hasn’t melted fully won’t spread evenly under the stamp. Taking your time here ensures you have the right amount of wax at the perfect consistency.
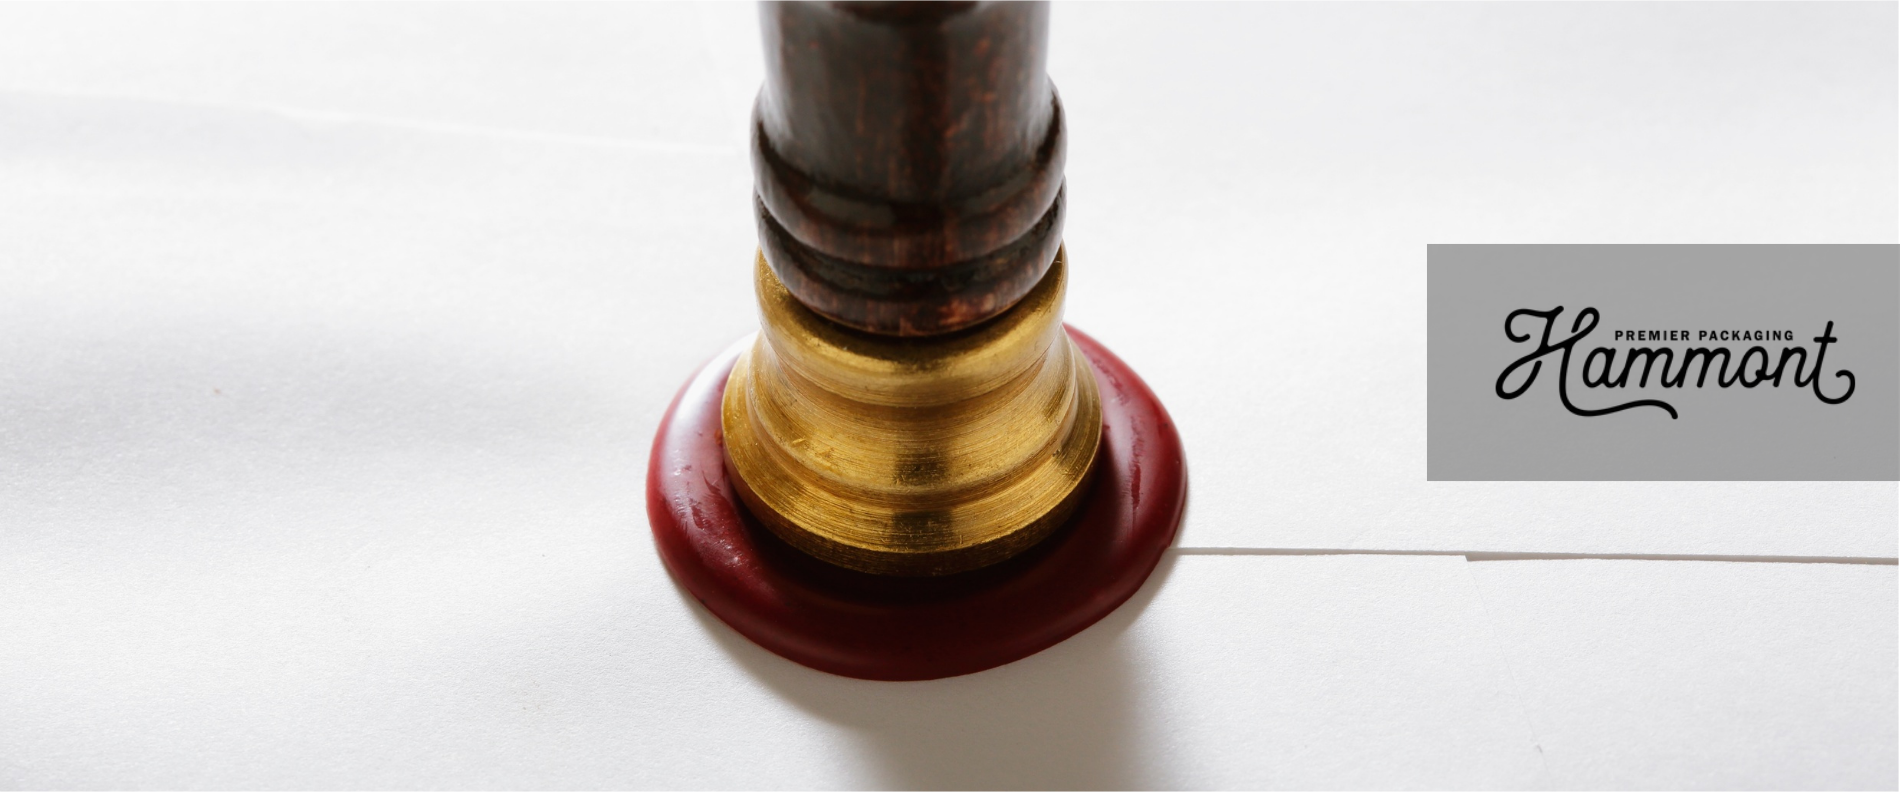
This is the moment when your seal truly takes shape. Once the wax has melted to the right consistency, carefully pour or drip it onto the surface of your gift box, ideally over the center of a ribbon knot or a spot you want to highlight. Aim for a pool about the size of a coin—large enough to capture the full design of your stamp but not so big that it spreads beyond your intended space.
With the wax still warm and pliable, press your stamp firmly into the center and hold it in place for a few seconds. The pressure allows the design to sink deeply into the wax, creating a crisp, defined impression. When it feels set, lift the stamp slowly and evenly to reveal the pattern.
Once you’ve lifted the stamp, the wax needs a brief moment to harden fully. It usually takes less than a minute, but giving it that time ensures the design stays sharp and the edges remain clean. Resist the urge to touch or move the box too soon, as even a slight smudge can dull the impression you worked so carefully to create.
If you’re working on multiple boxes, an assembly-line approach is often best. Pour and stamp one, then move on to the next while the first is cooling. By the time you circle back, the seal will have set firmly in place!
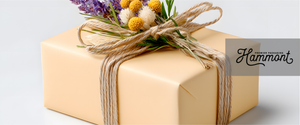
A wax seal is beautiful on its own, but adding small enhancements can make it even more striking. Once your seal has hardened, you can lightly brush metallic powder over the raised design to highlight its details, creating a subtle shimmer that catches the eye. Some prefer a more tactile approach by layering the seal directly over ribbon or twine, letting the textures play together for a rich, dimensional effect.
If you want something a little more personalized, press a tiny dried flower, a sprinkle of glitter, or a fragment of foil into the wax just before stamping.
There are two main ways to attach your wax seals, and the choice depends on both convenience and the look you want to achieve. The first option is direct sealing, where you pour the wax directly onto the gift box and stamp it in place. This creates a seamless, permanent finish that feels authentic and luxurious, especially when placed over a ribbon knot or the center of the lid.
The second option is to create pre-made seals on a non-stick surface, then attach them later using glue dots or adhesive backings. This approach is perfect if you’re preparing a large number of boxes or need a more controlled process, since you can make seals in batches and simply stick them on when ready.
No matter which method you choose, a seal can act as a focal point when centered, or add a touch of modern flair when positioned slightly off-center. In many ways, it’s that final touch that the gift presentation needs to really make it stand out from the rest.
| Question | Answer |
|---|---|
| Can I reuse a wax seal stamp? | Yes! Just wipe it clean after each use. A damp cloth works well between sessions. |
| What type of wax is best for beginners? | Glue-gun wax sticks are easiest to control and least messy for new users. |
| How do I stop the stamp from sticking? | Cool the stamp on an ice pack or wipe lightly with an oil-coated cloth before stamping. |
| Can I use these for mailing? | Yes, but it's best to place wax-sealed items inside a padded envelope to avoid damage during transit. |
| Do I have to use ribbon? | No! You can seal directly onto the box, but ribbon adds texture and visual depth. |